The Apparatus

A Game Boy Camera Reimagined

This is the setup I use to make photographs with a Game Boy Camera: small adaptations, experiments, and a fair amount of tinkering along the way.

The cameras I use

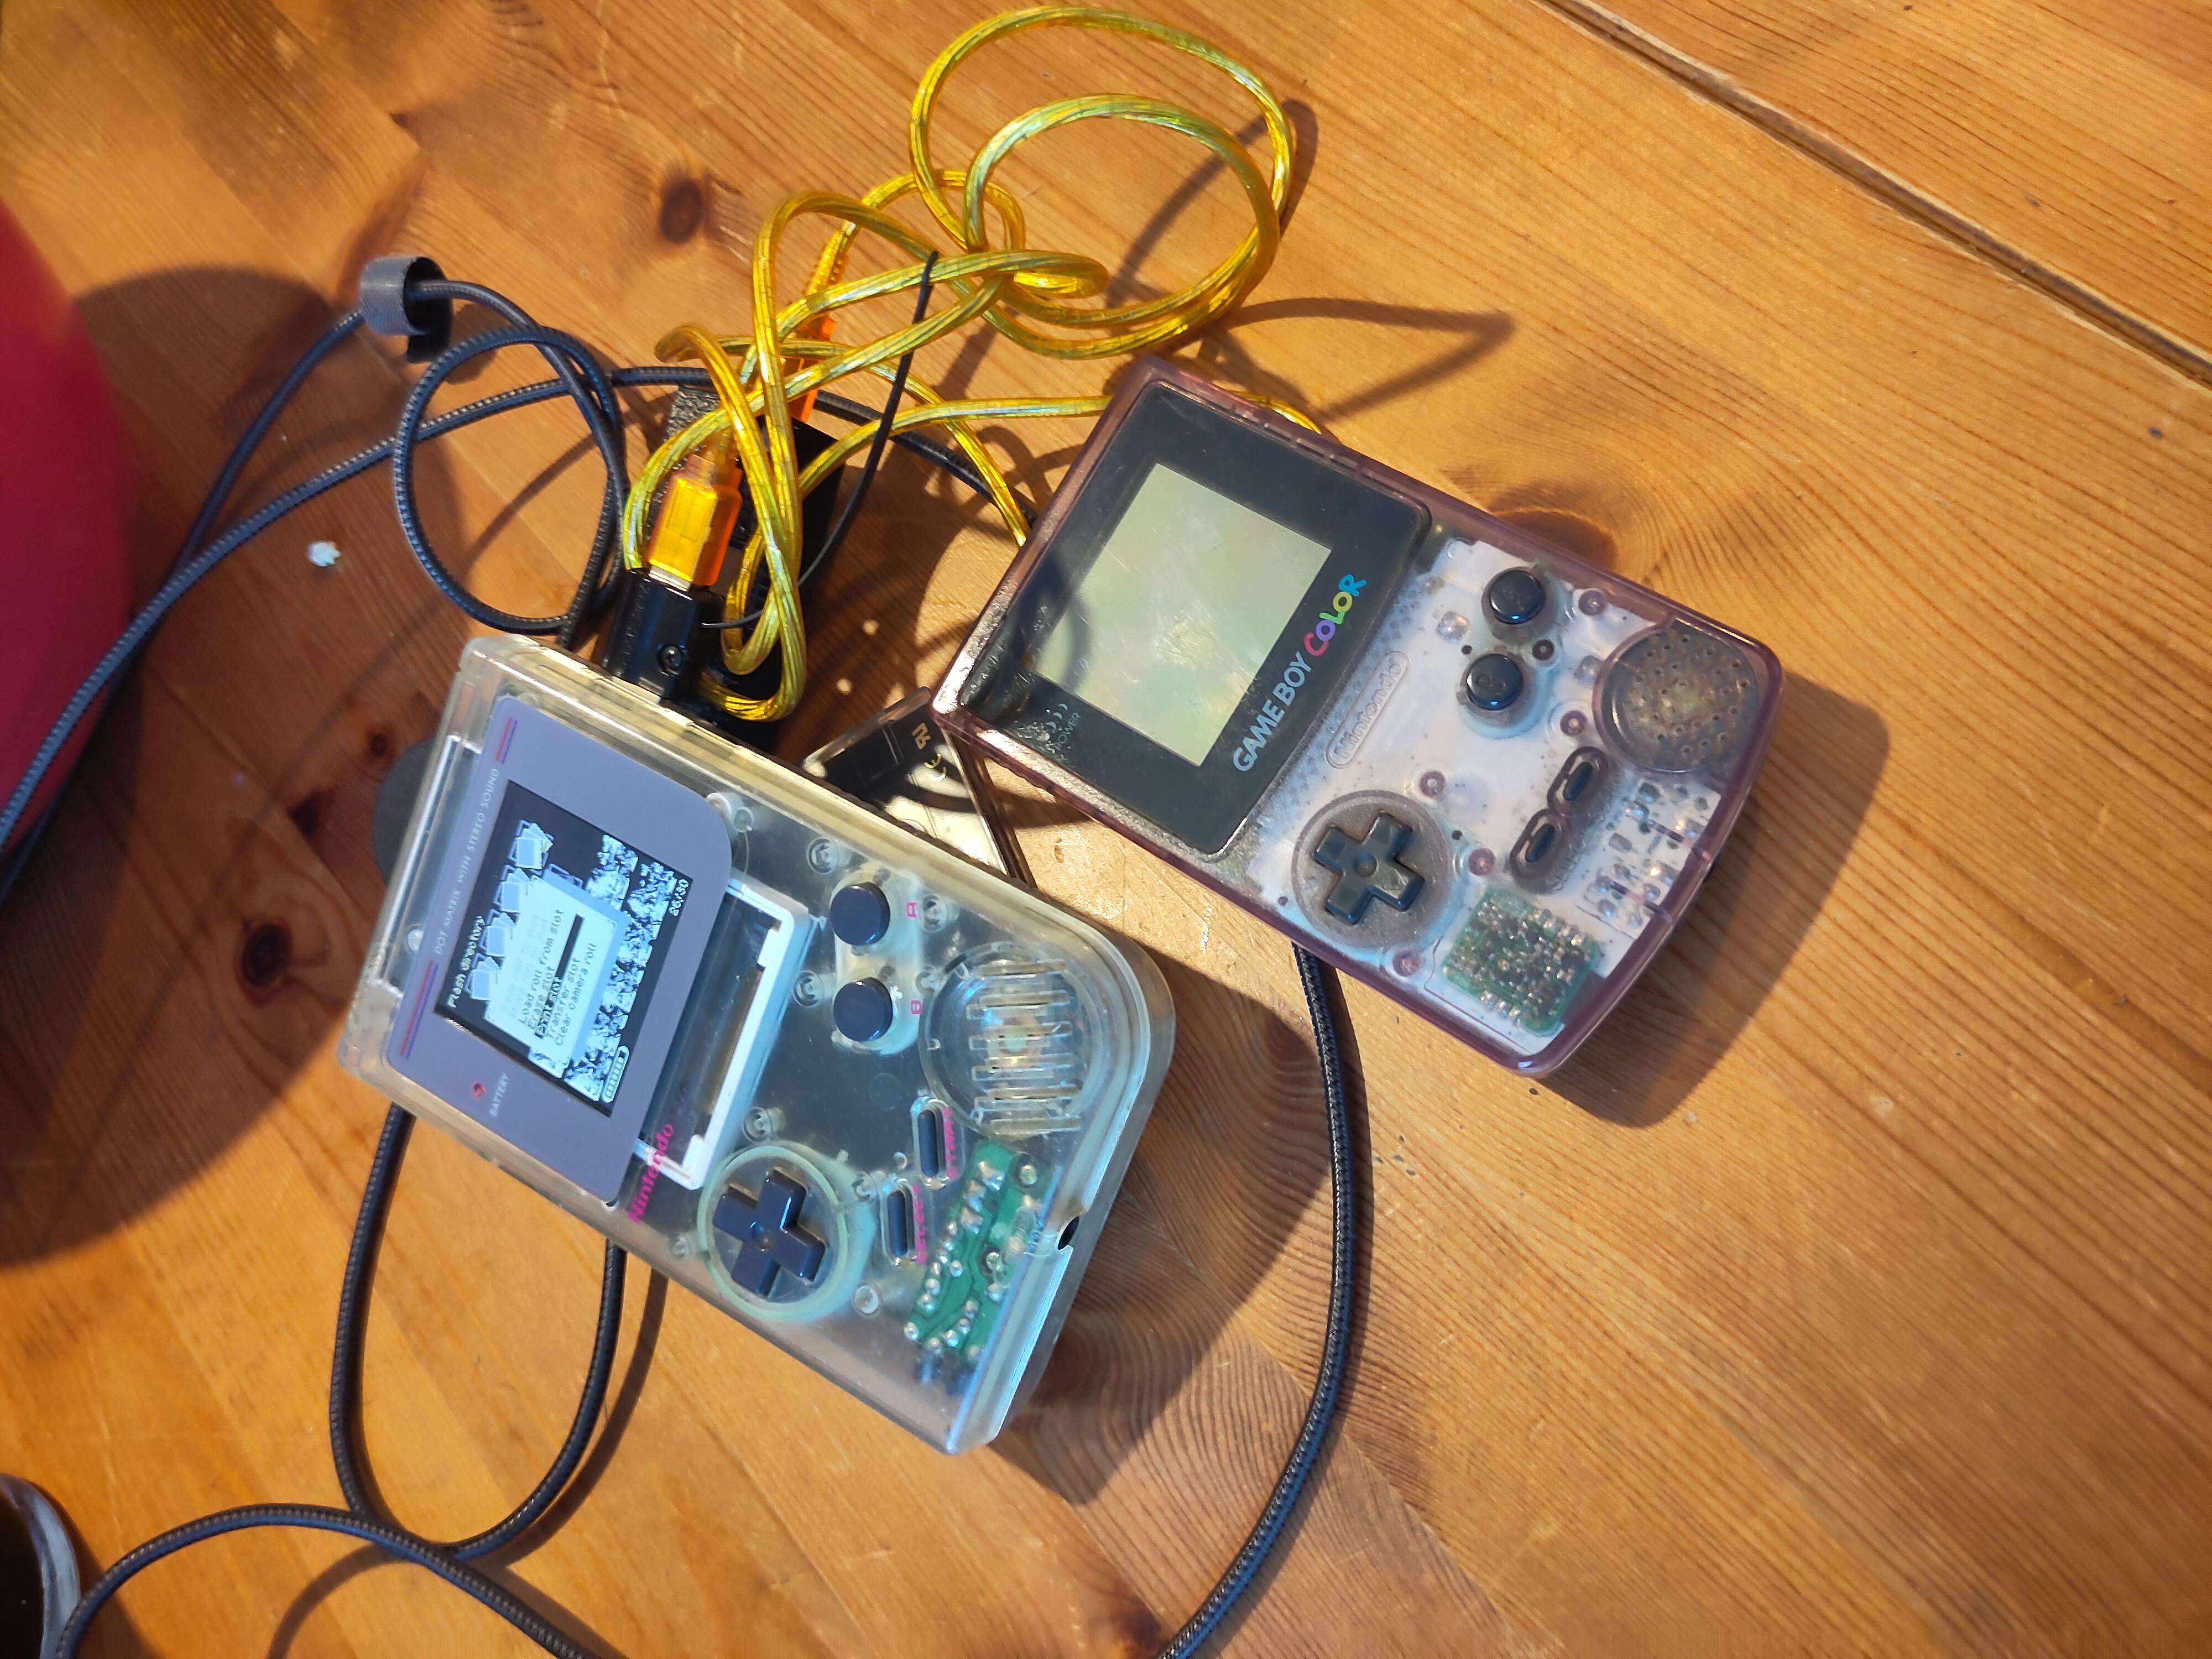
I mostly shoot with two Game Boys. The Color has become the most complete and most modified one. The rest of the family still gets a turn.

The two Game Boys used most. The Game Boy Color is the more complete one.
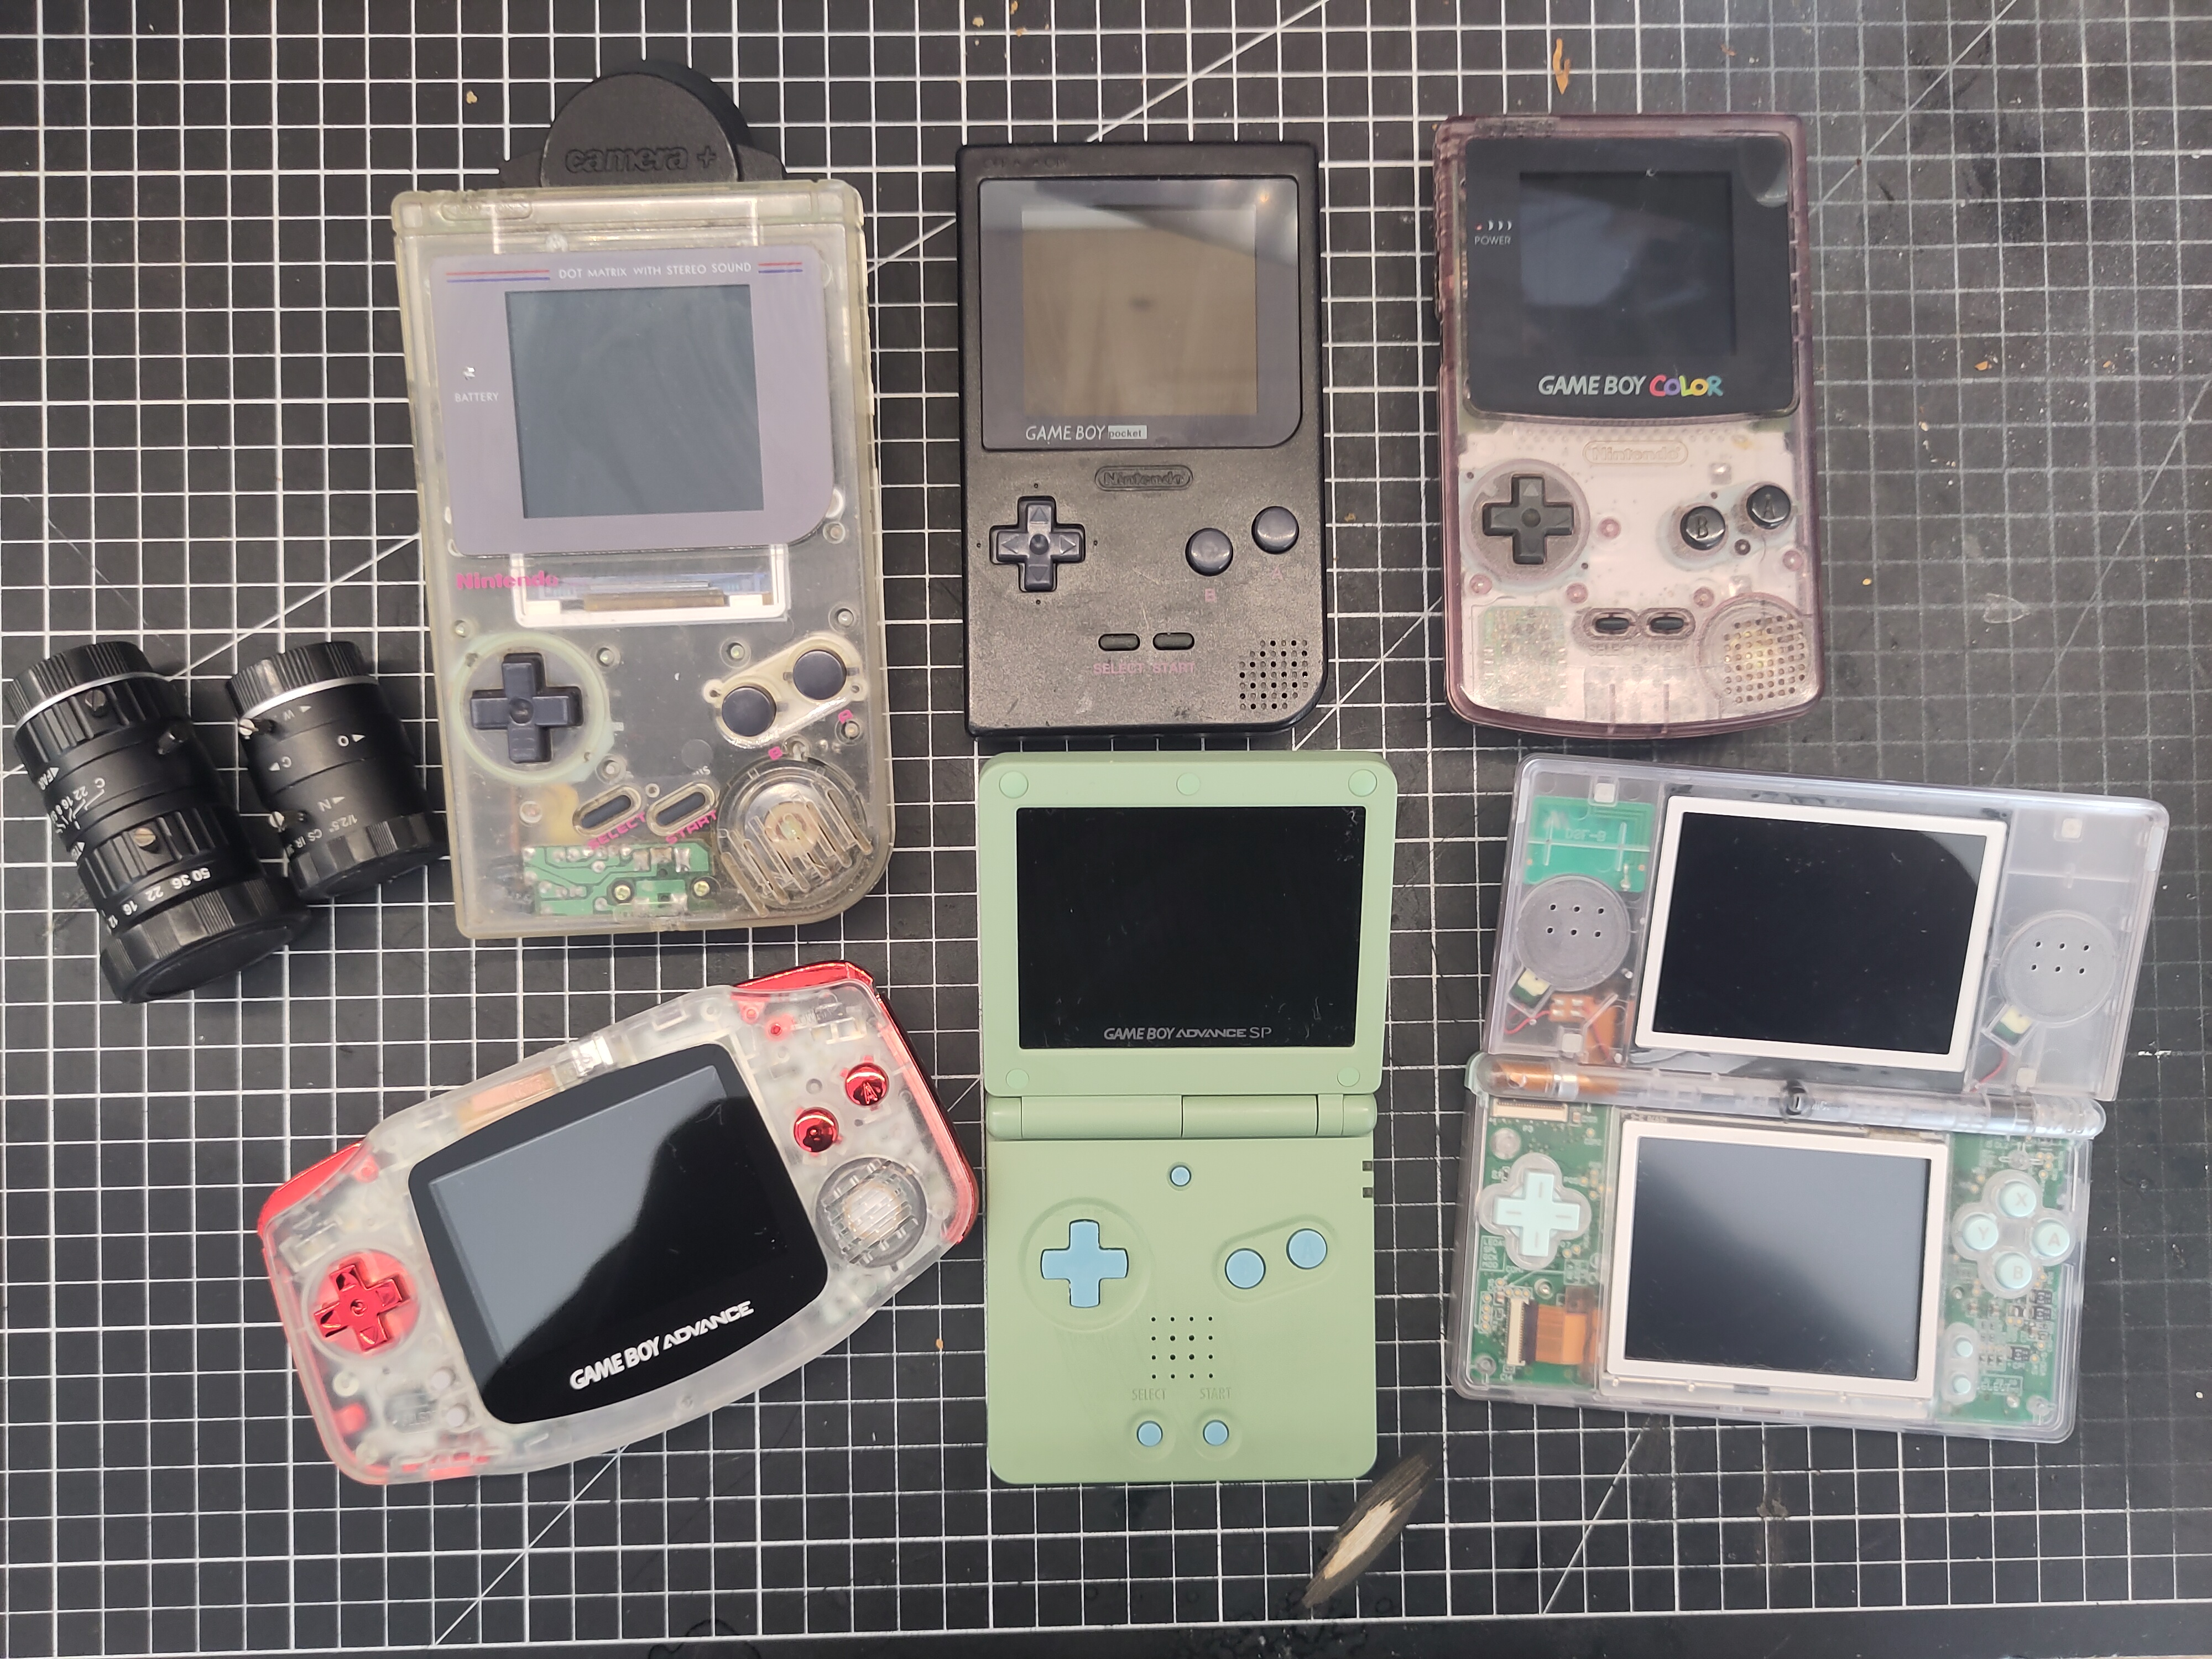
The whole gang.
The whole gang.
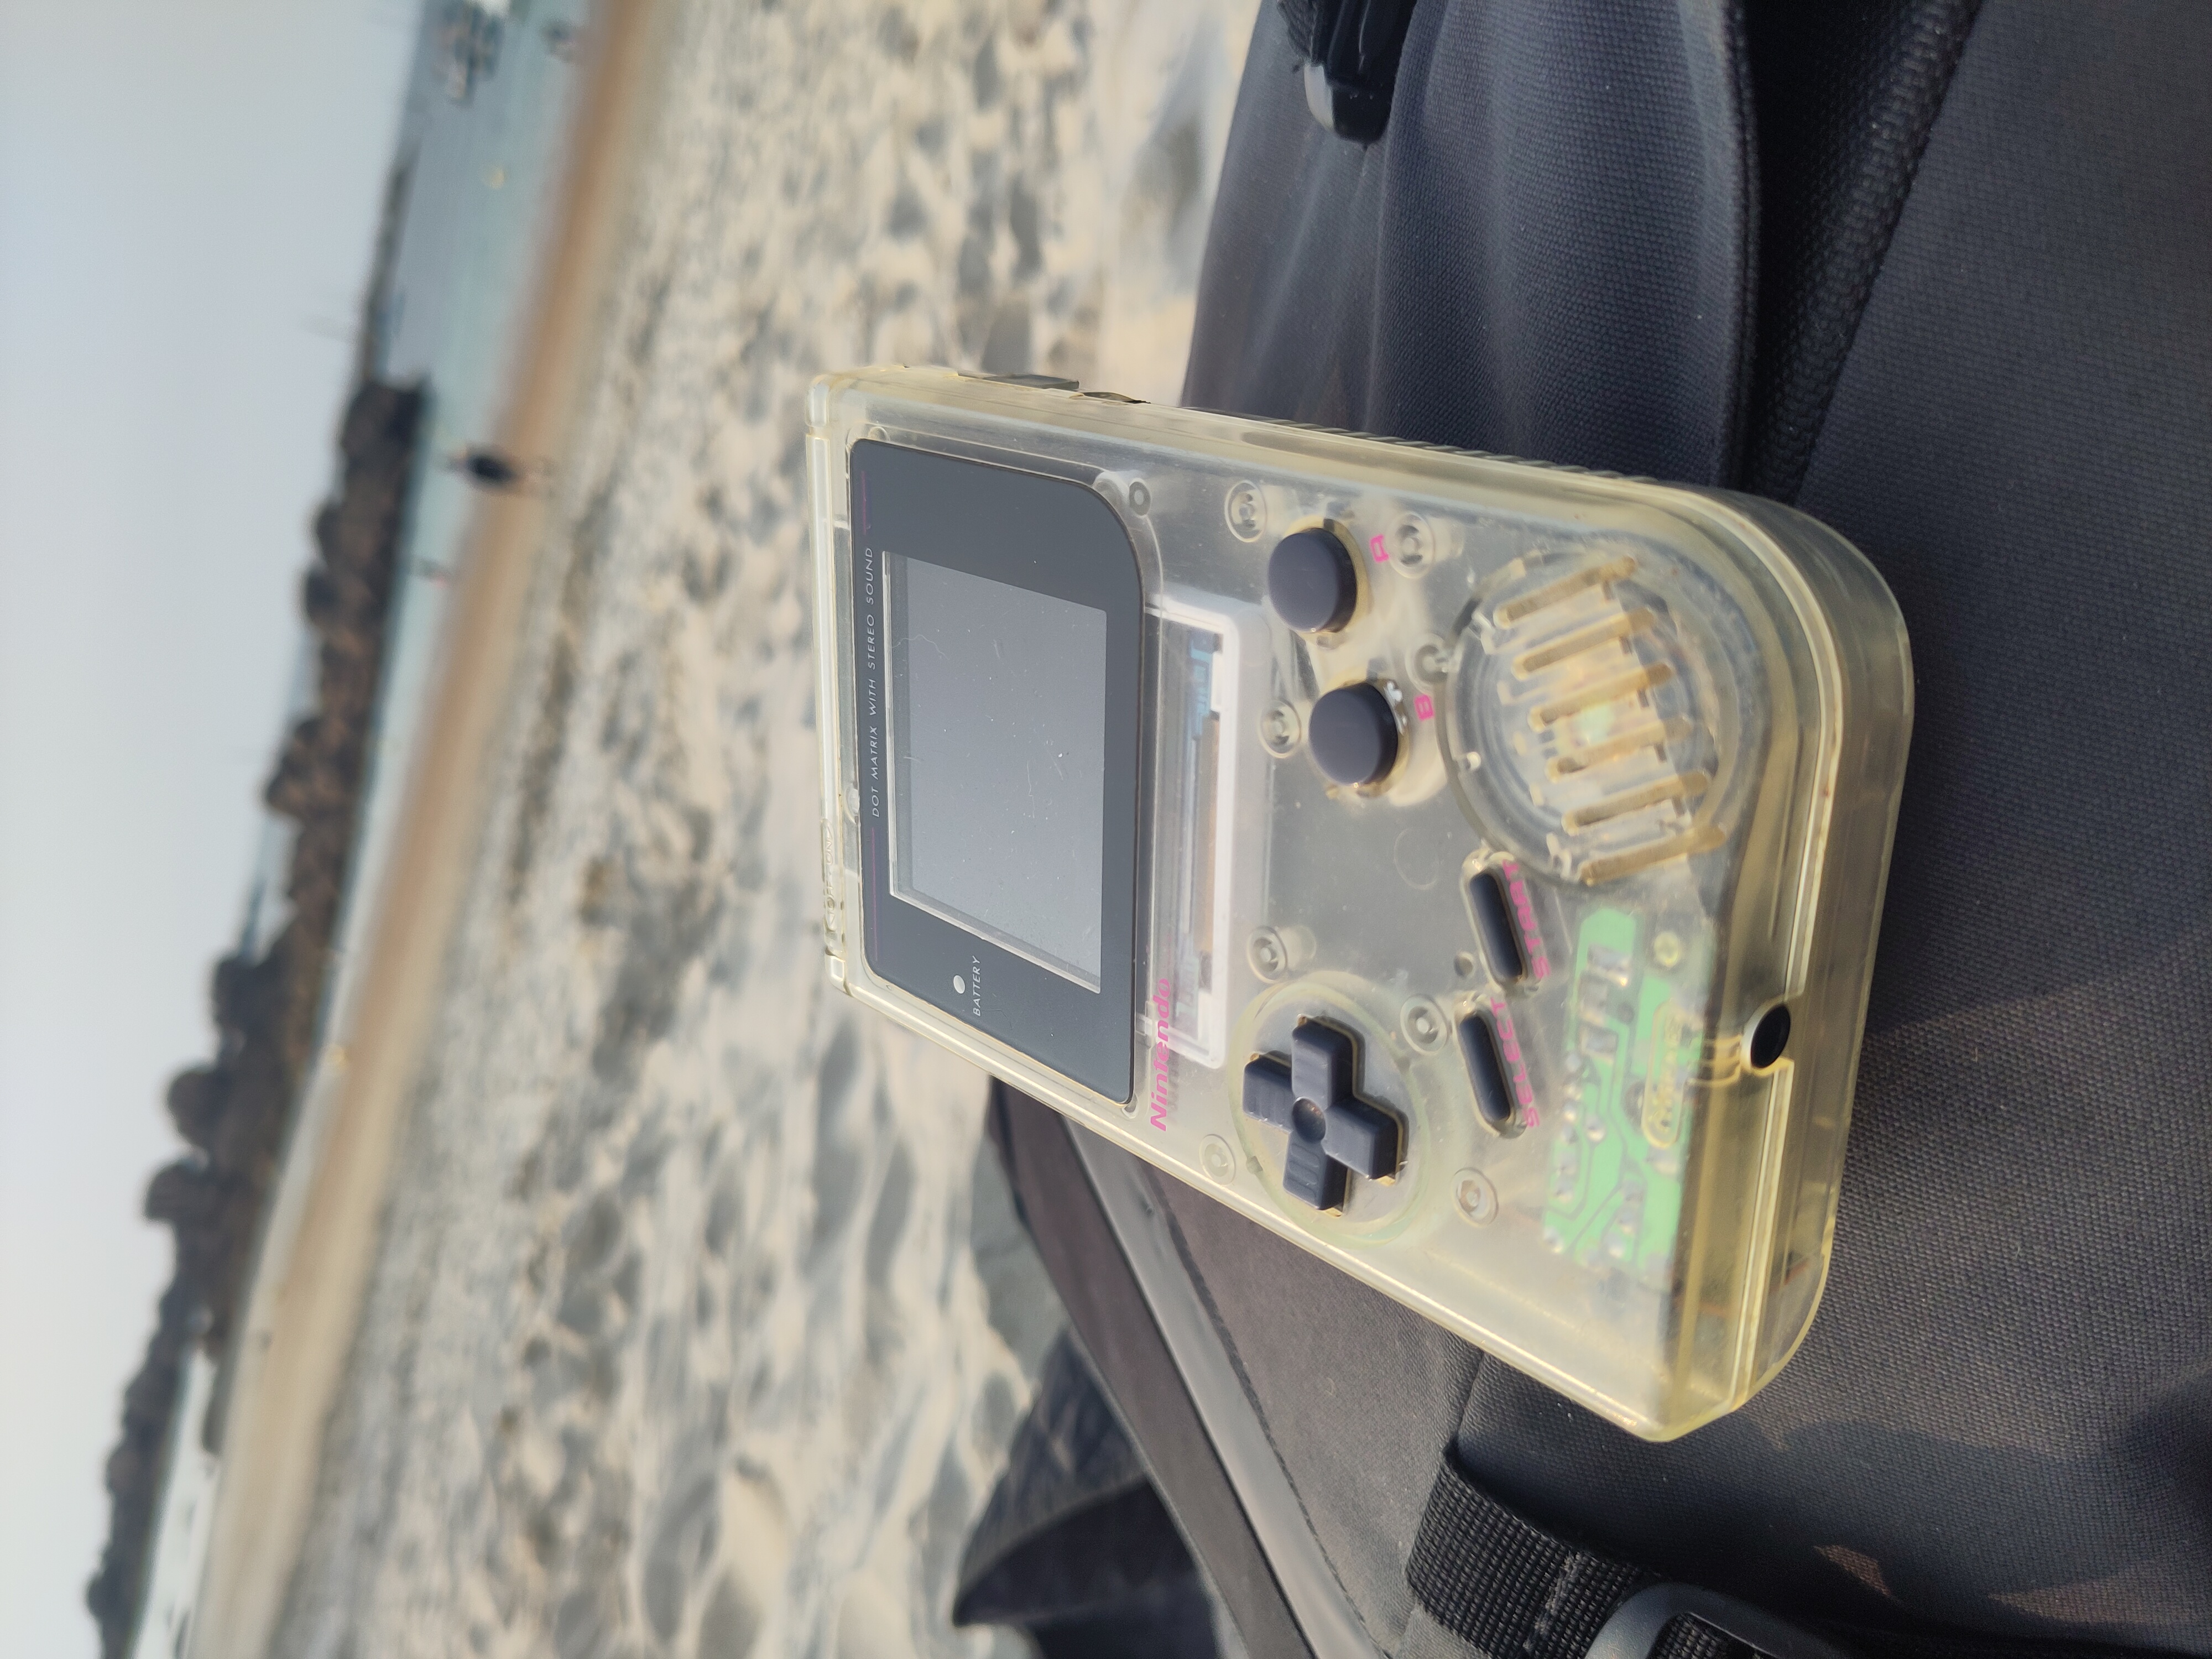
A Game Boy getting a tan.

Keeping the original sensor

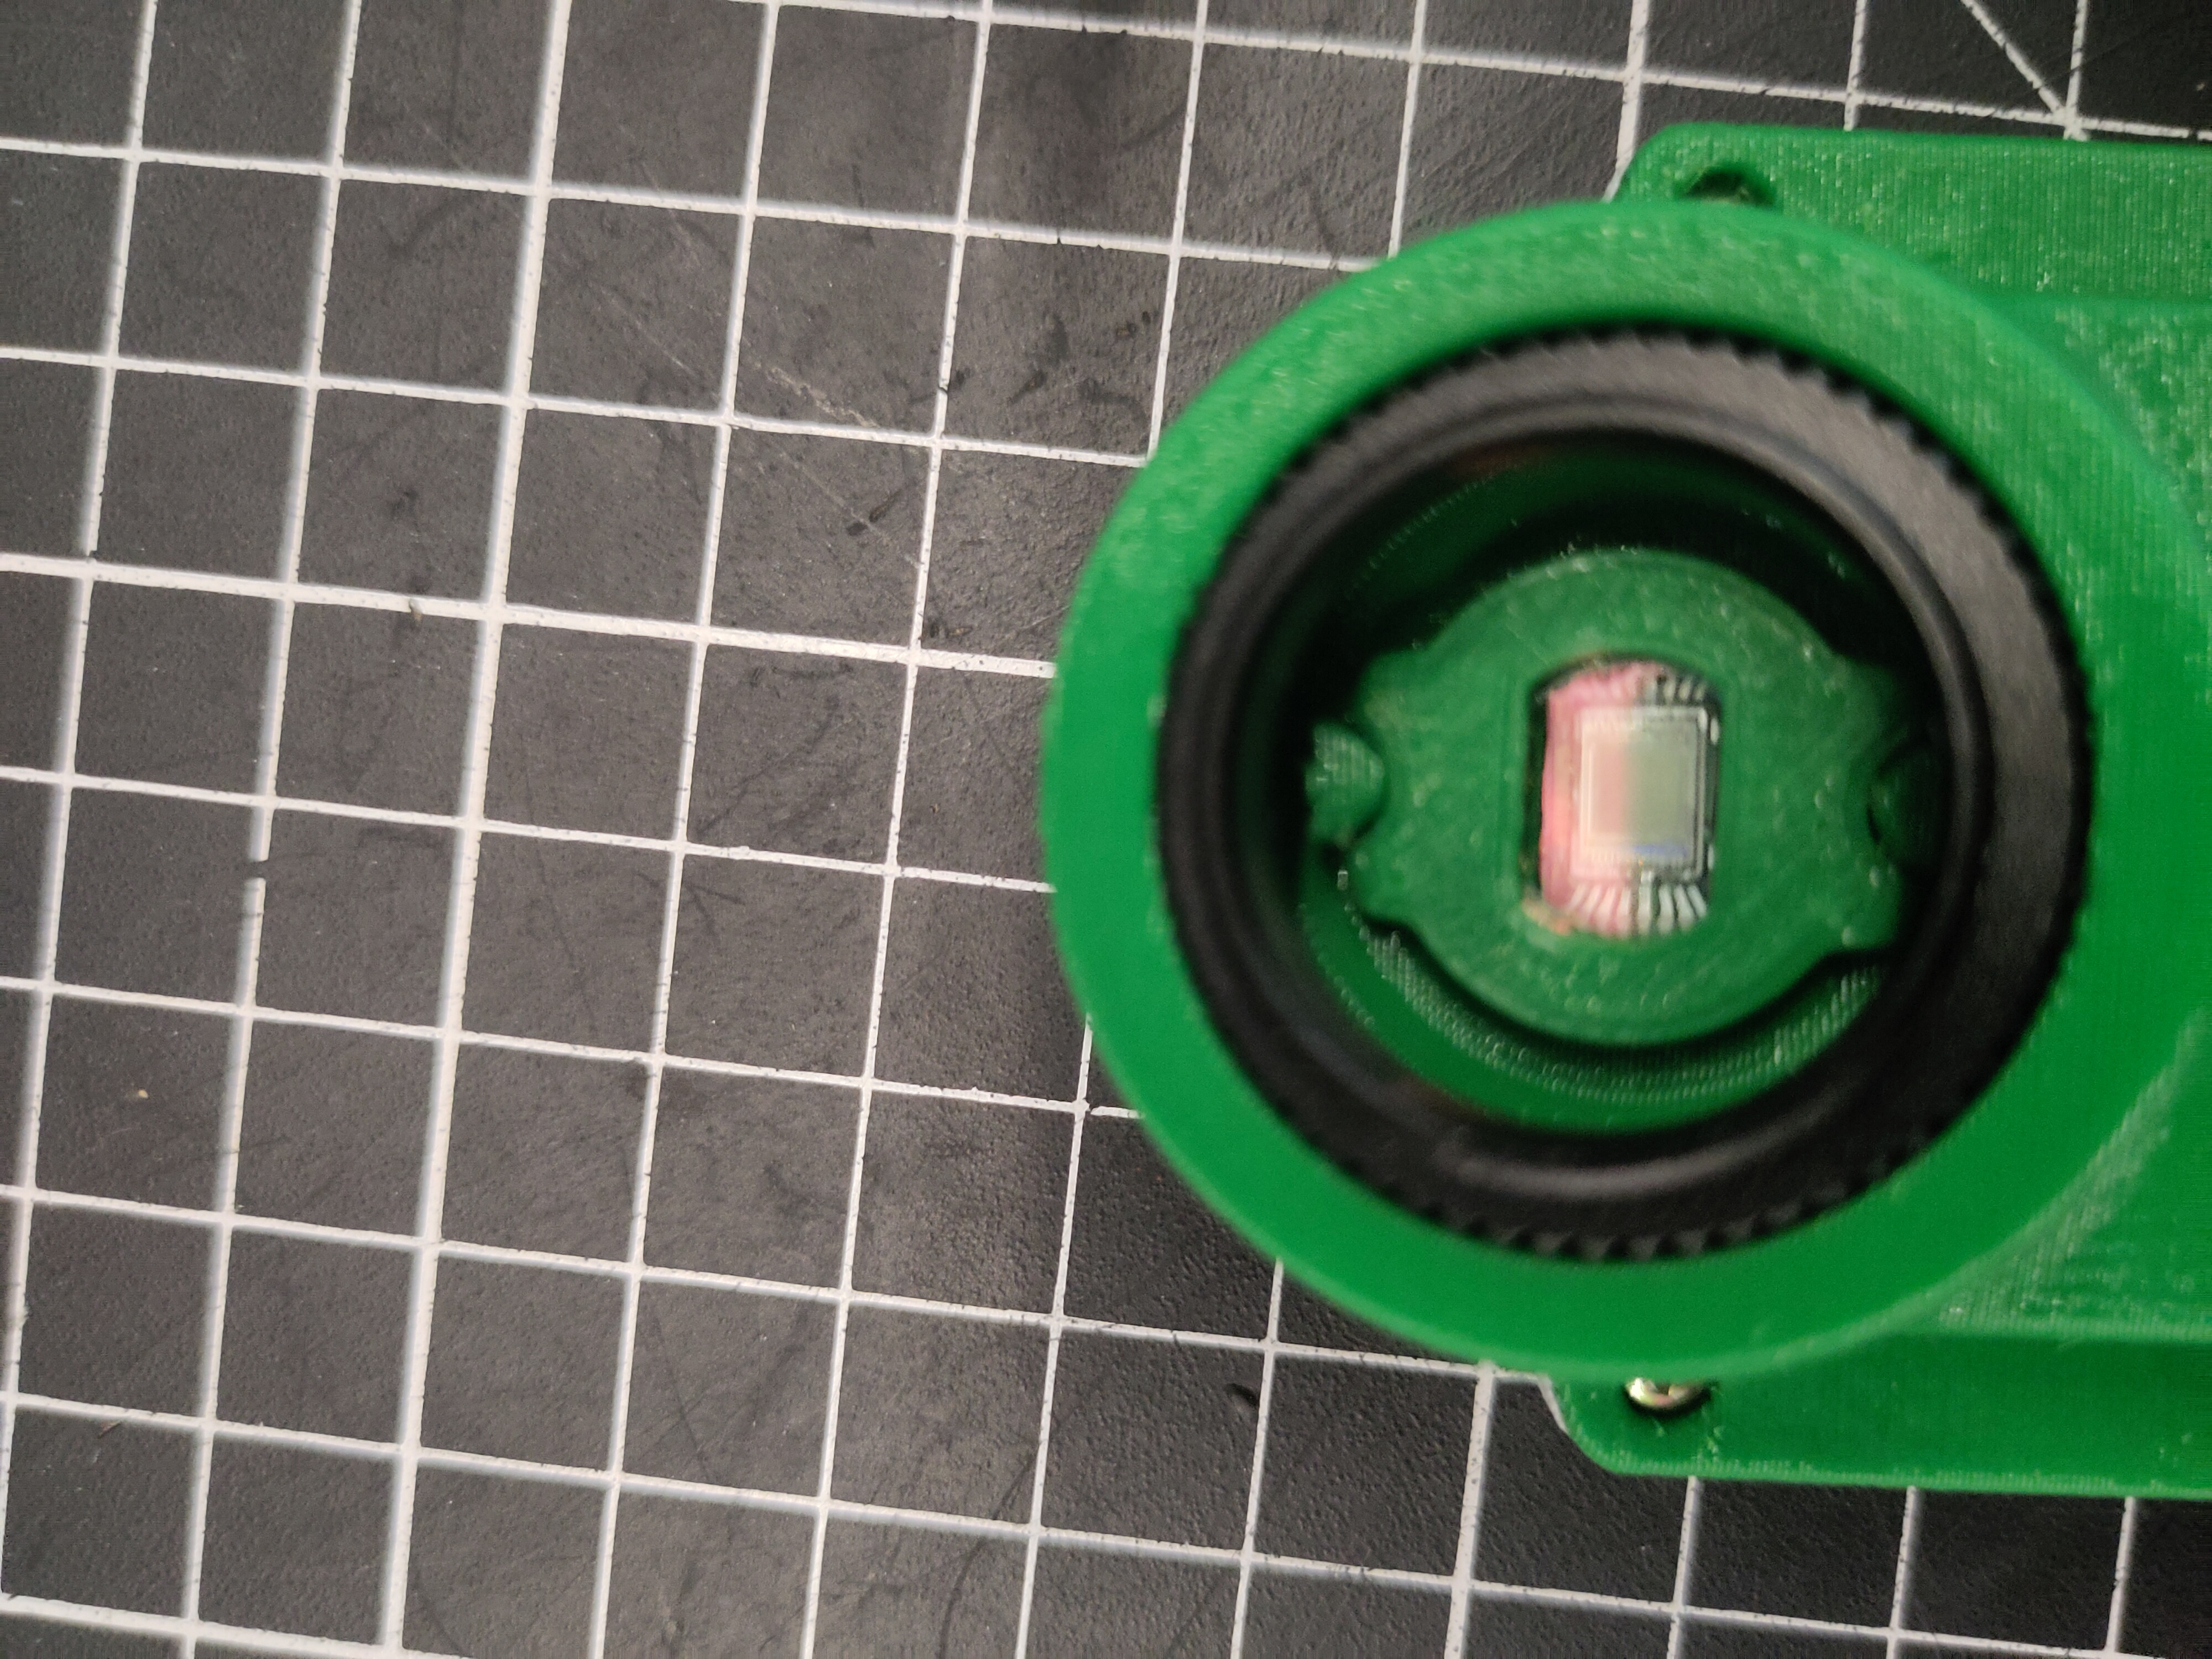
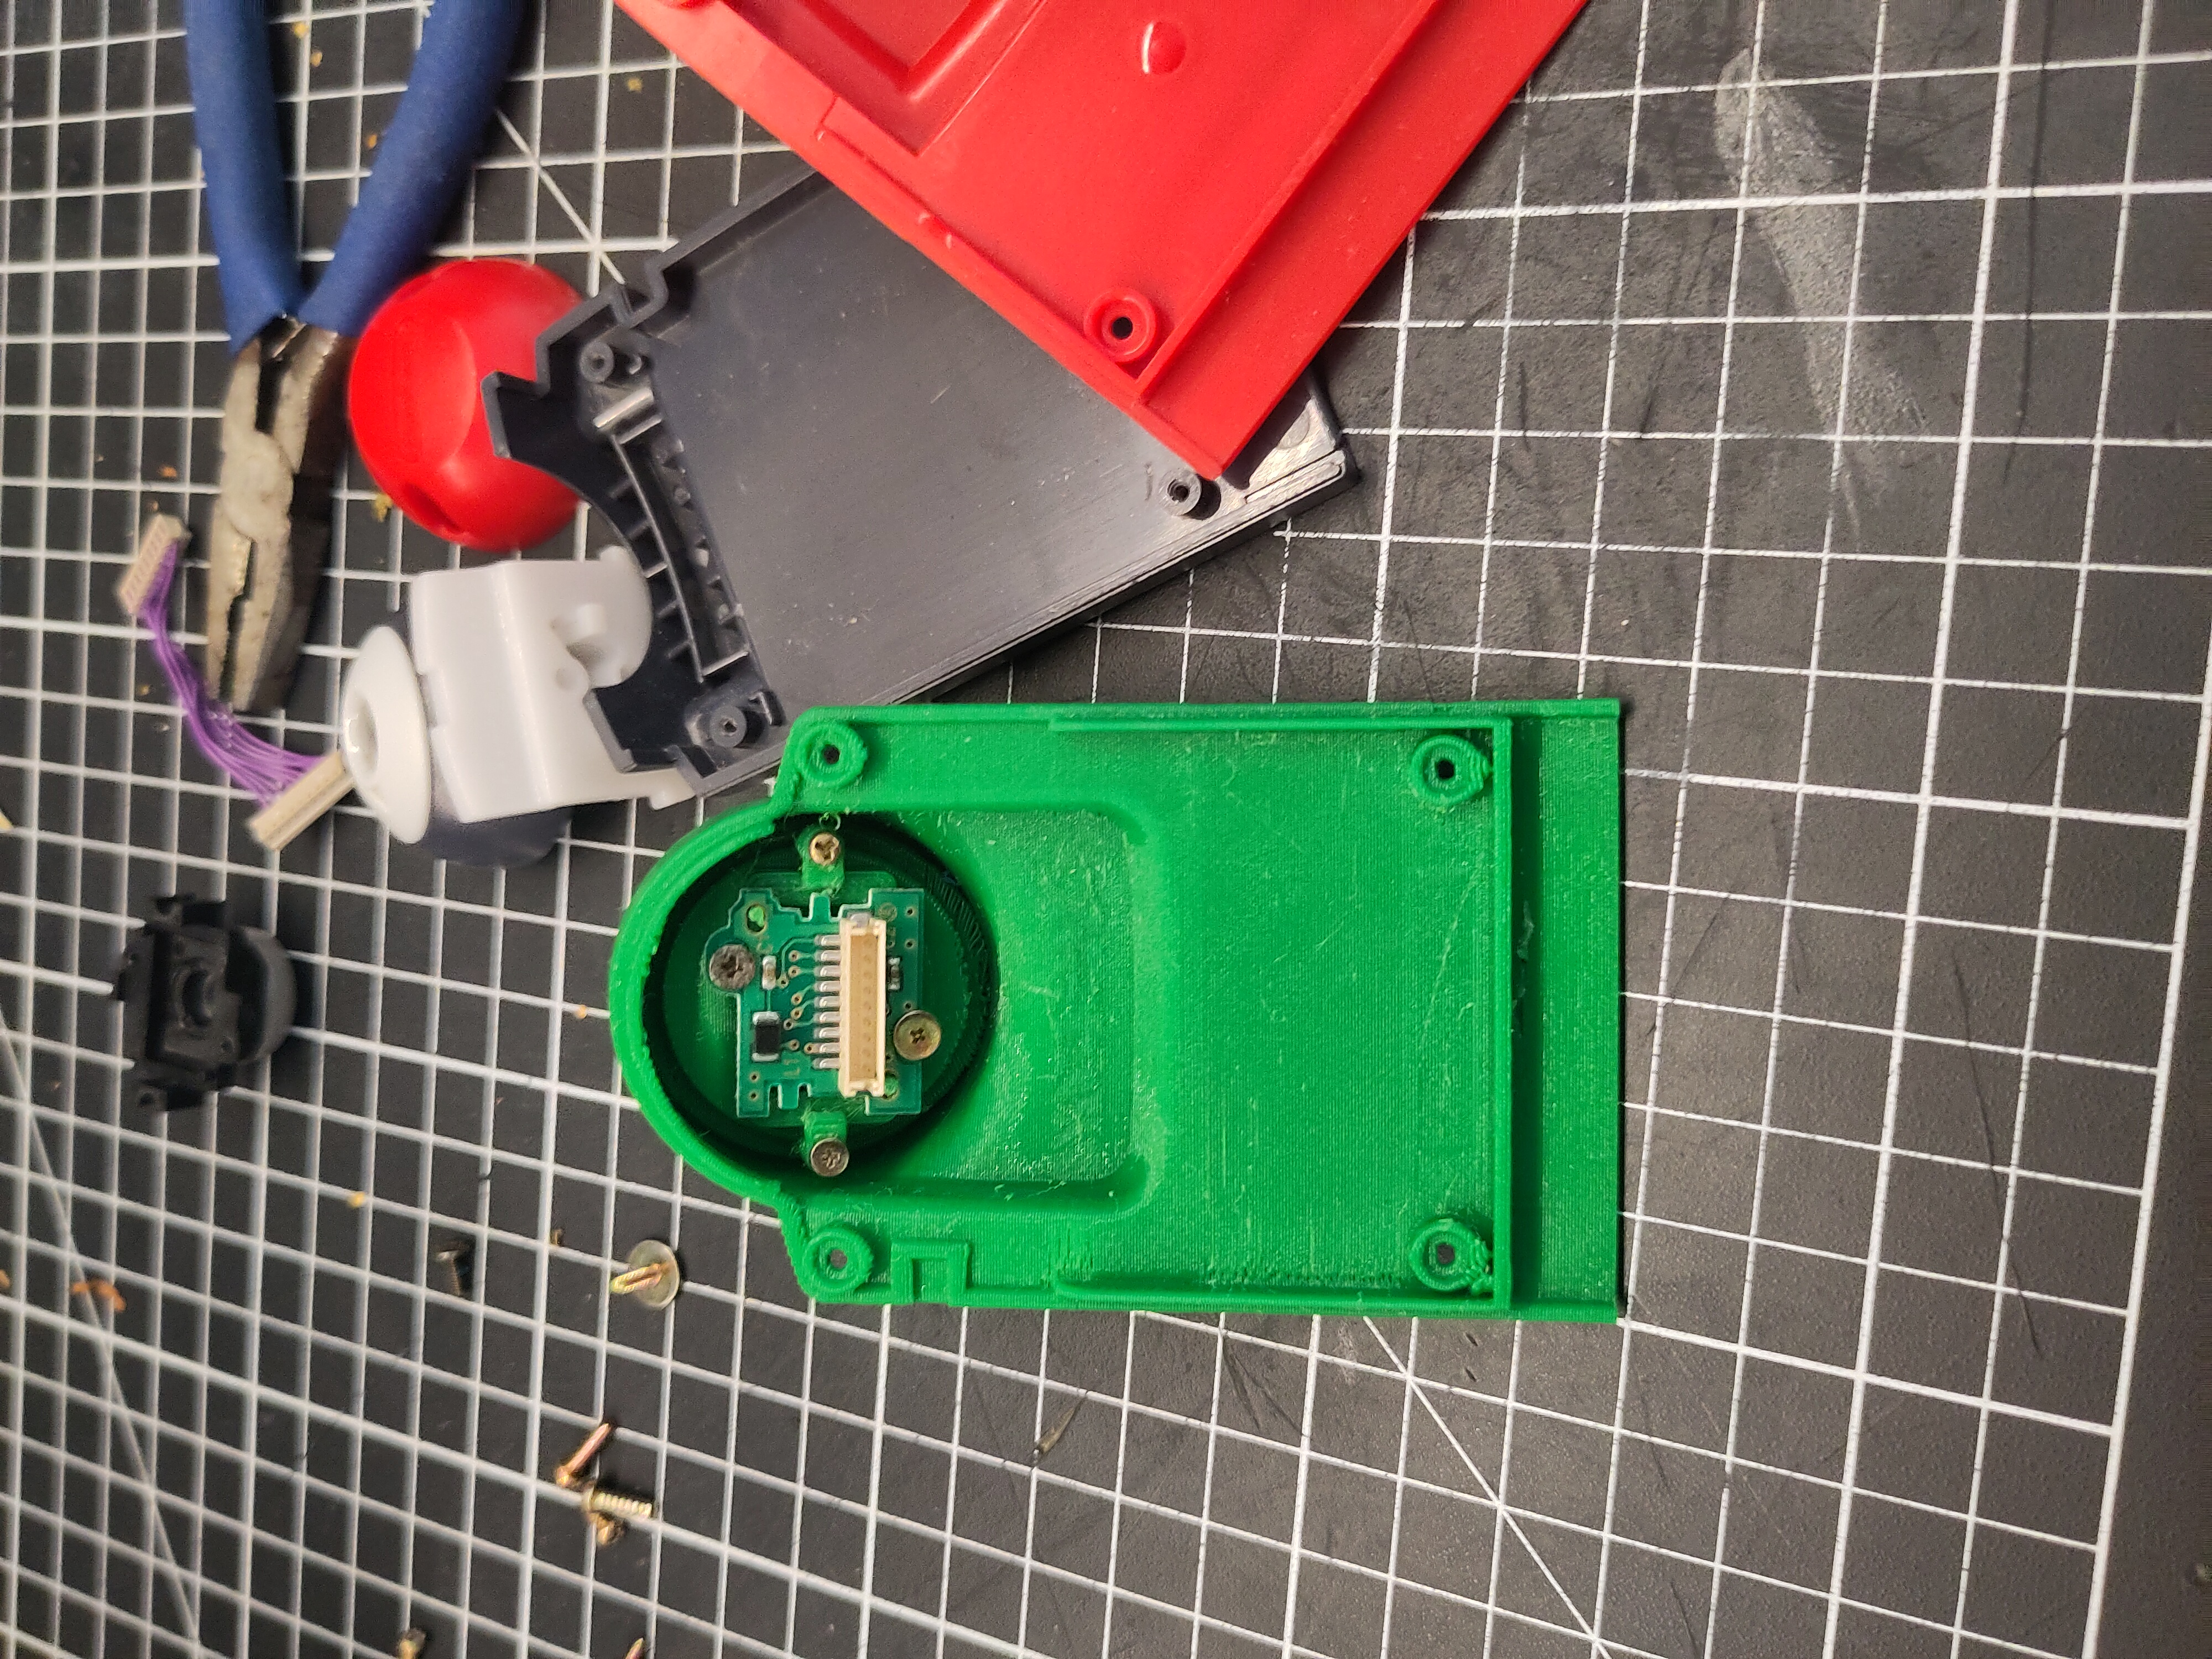
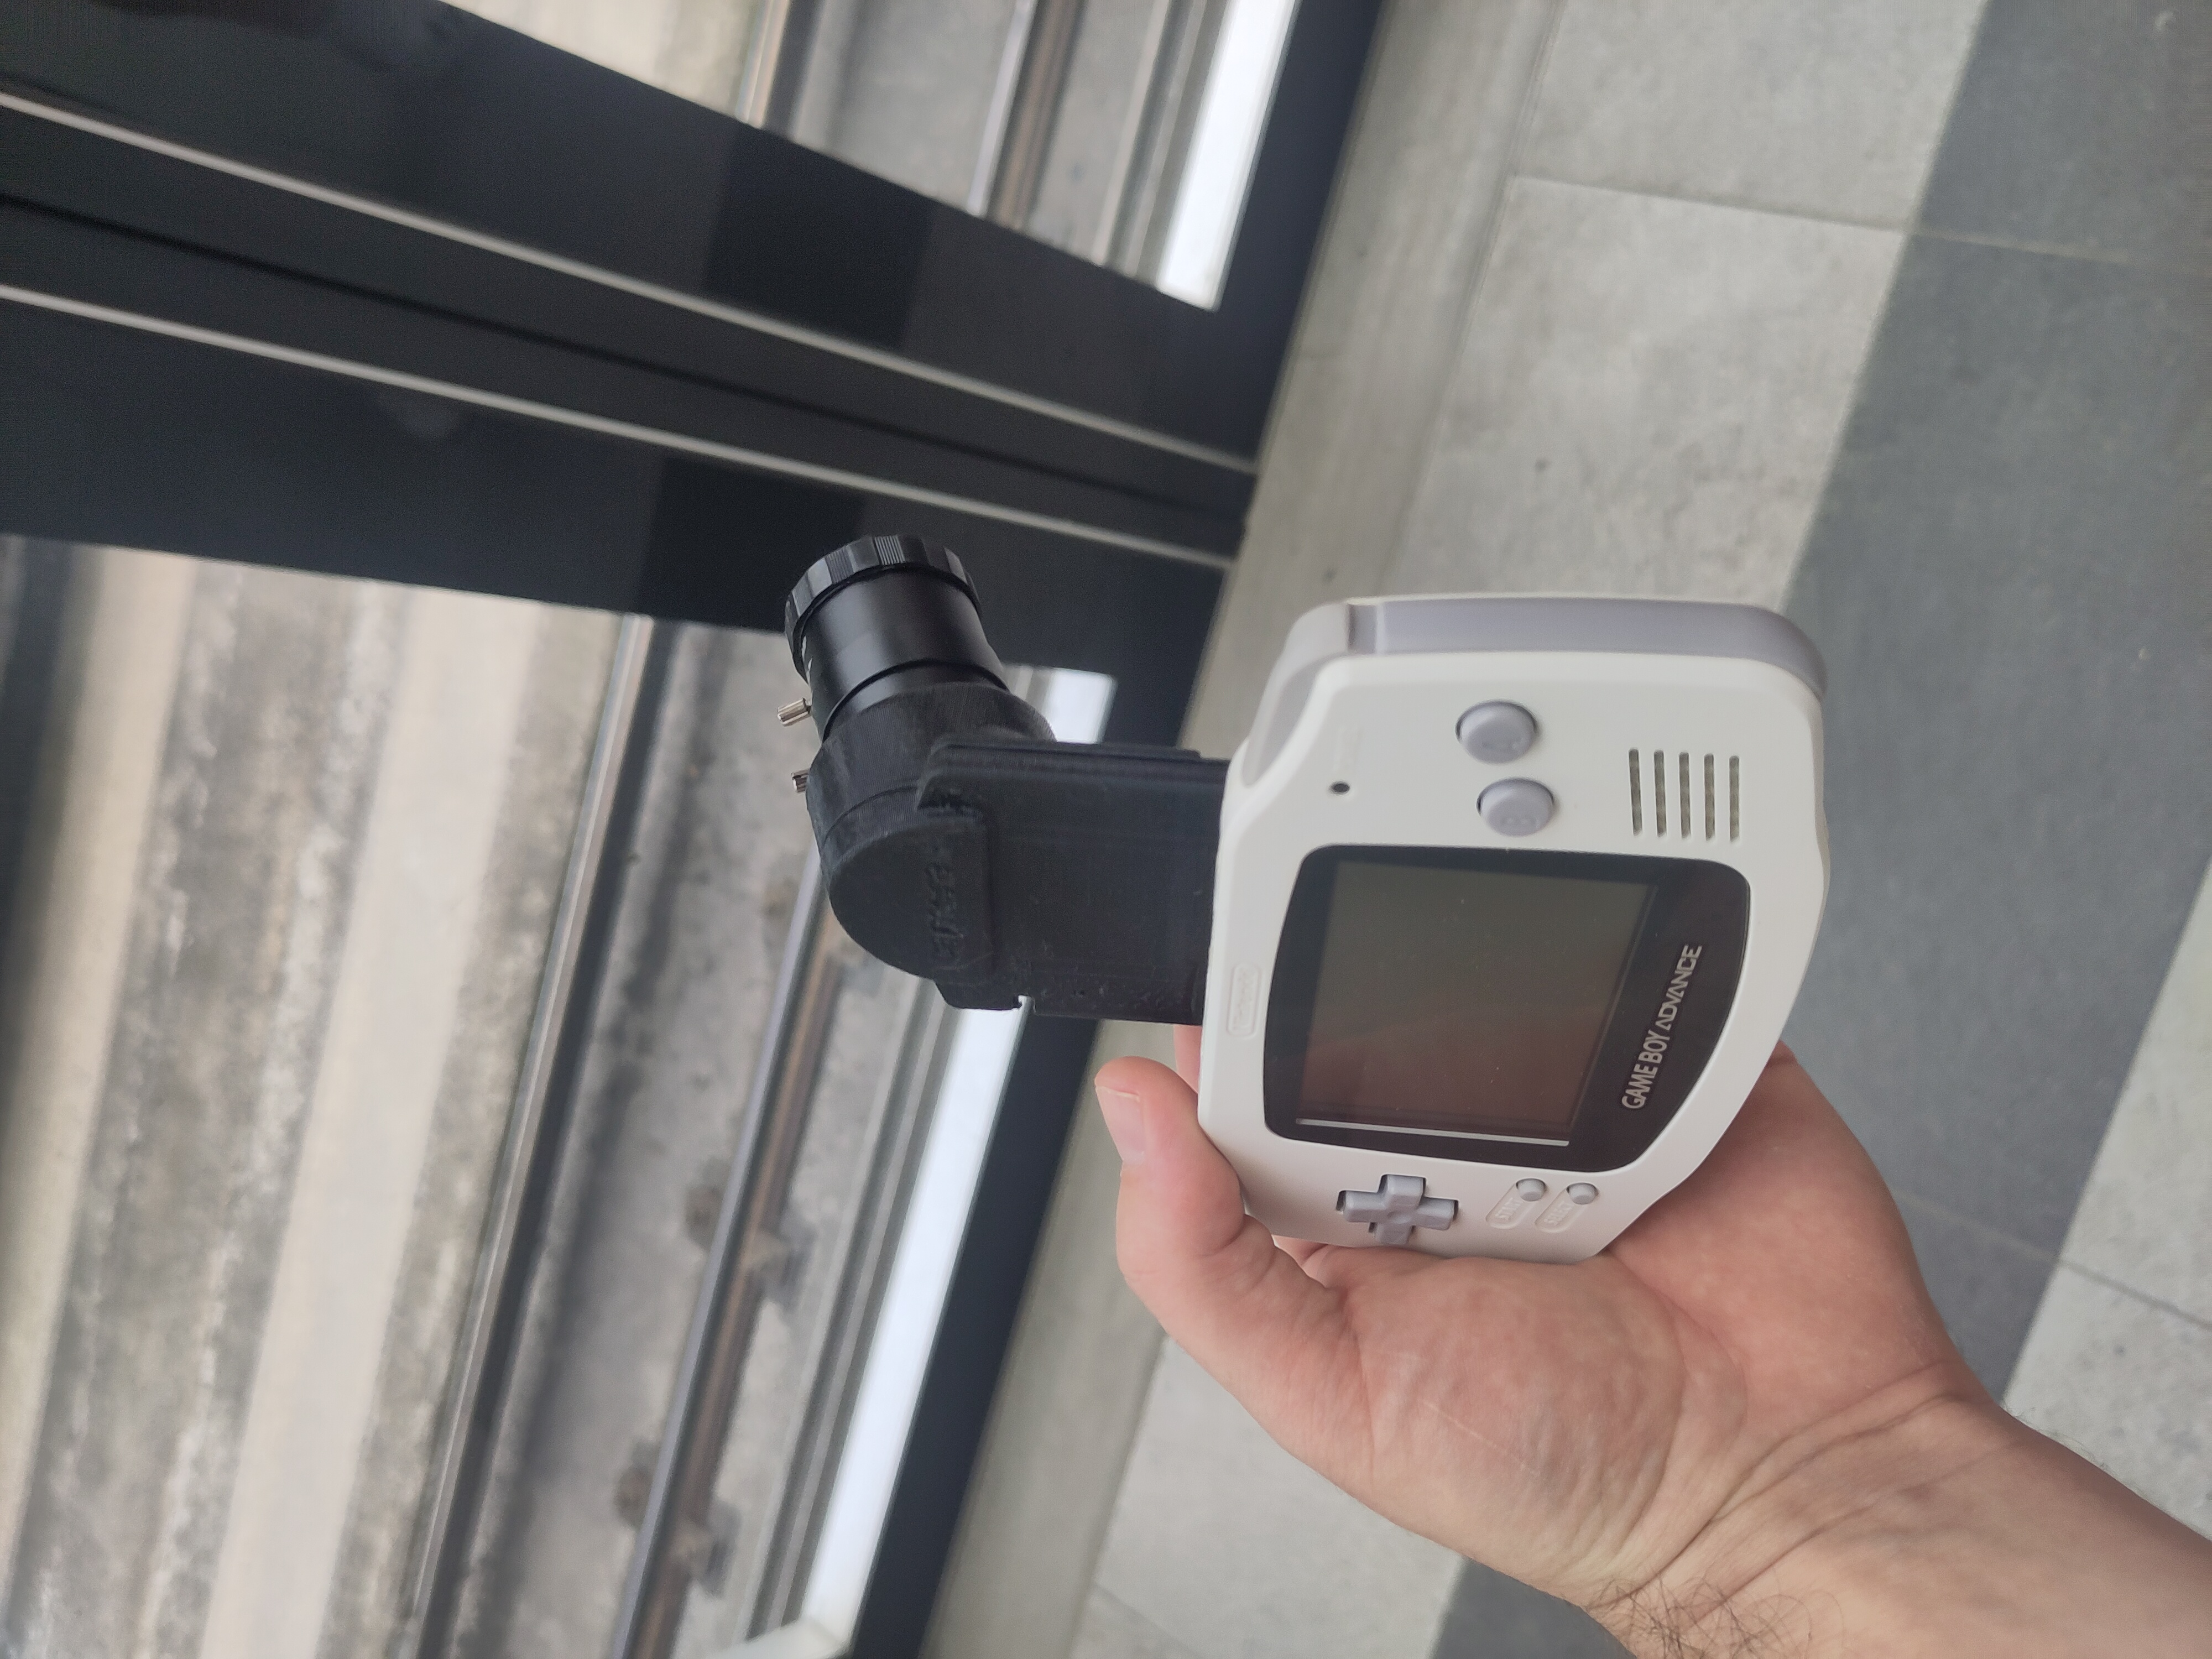
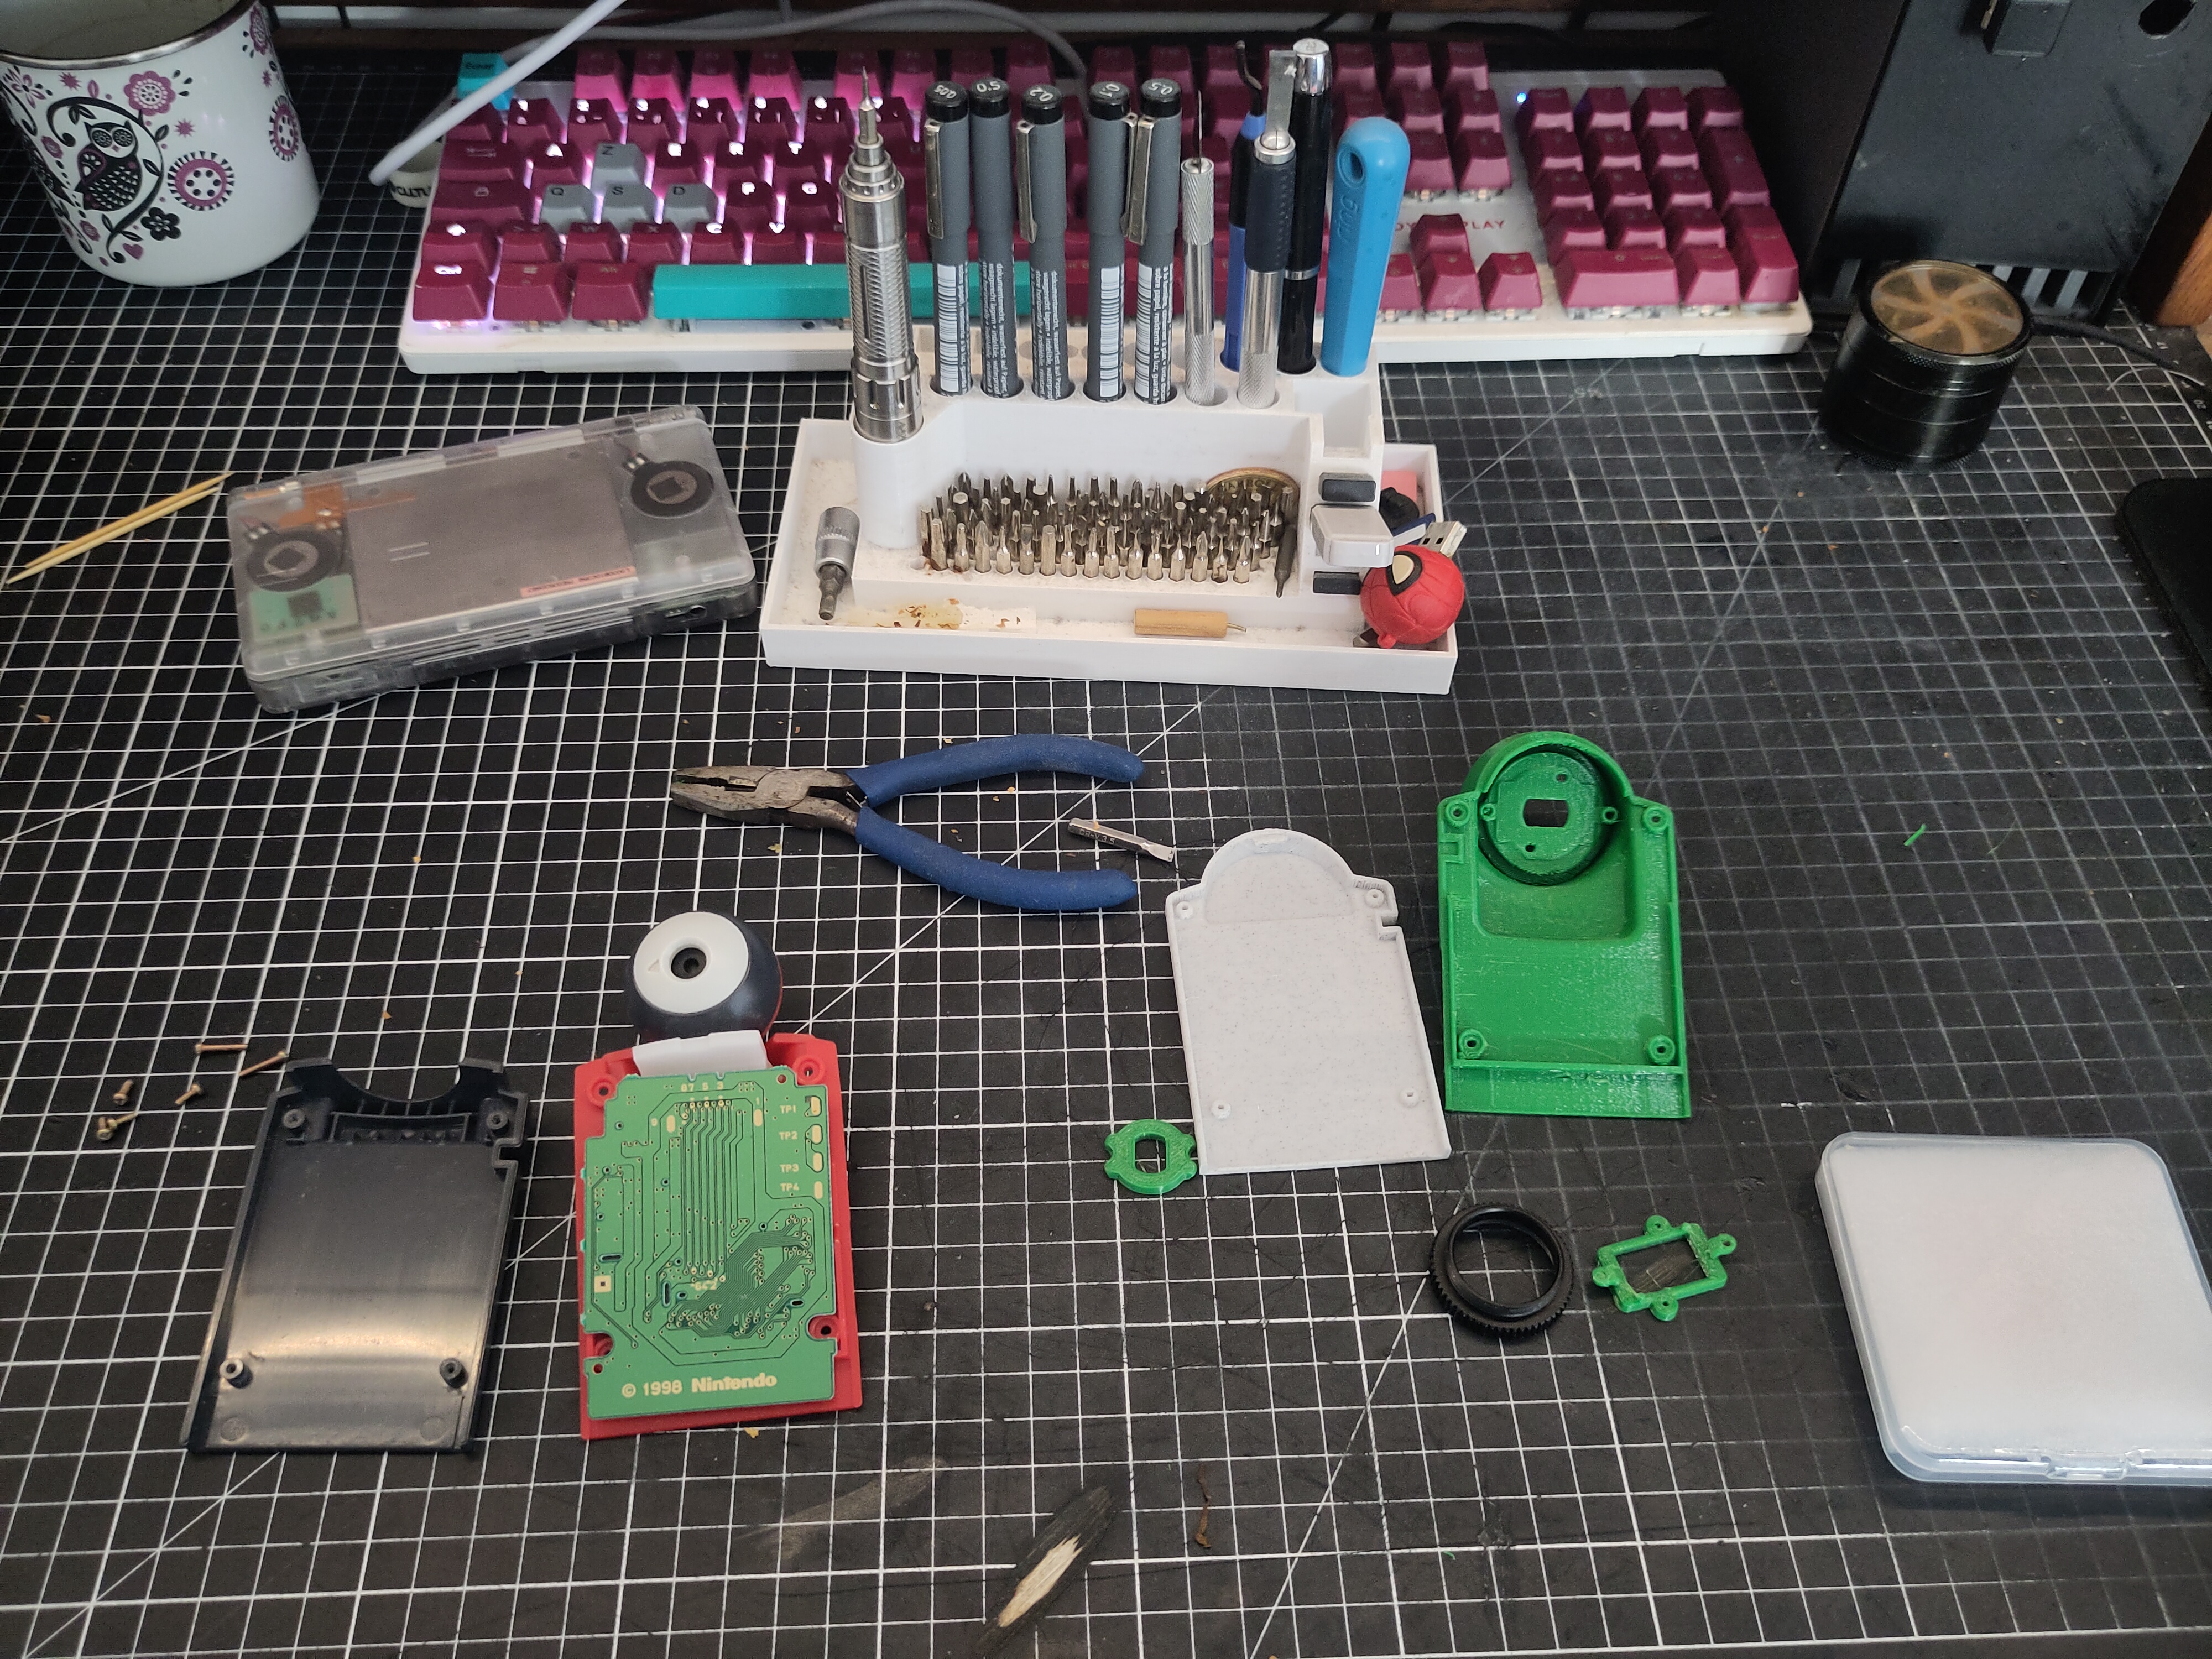
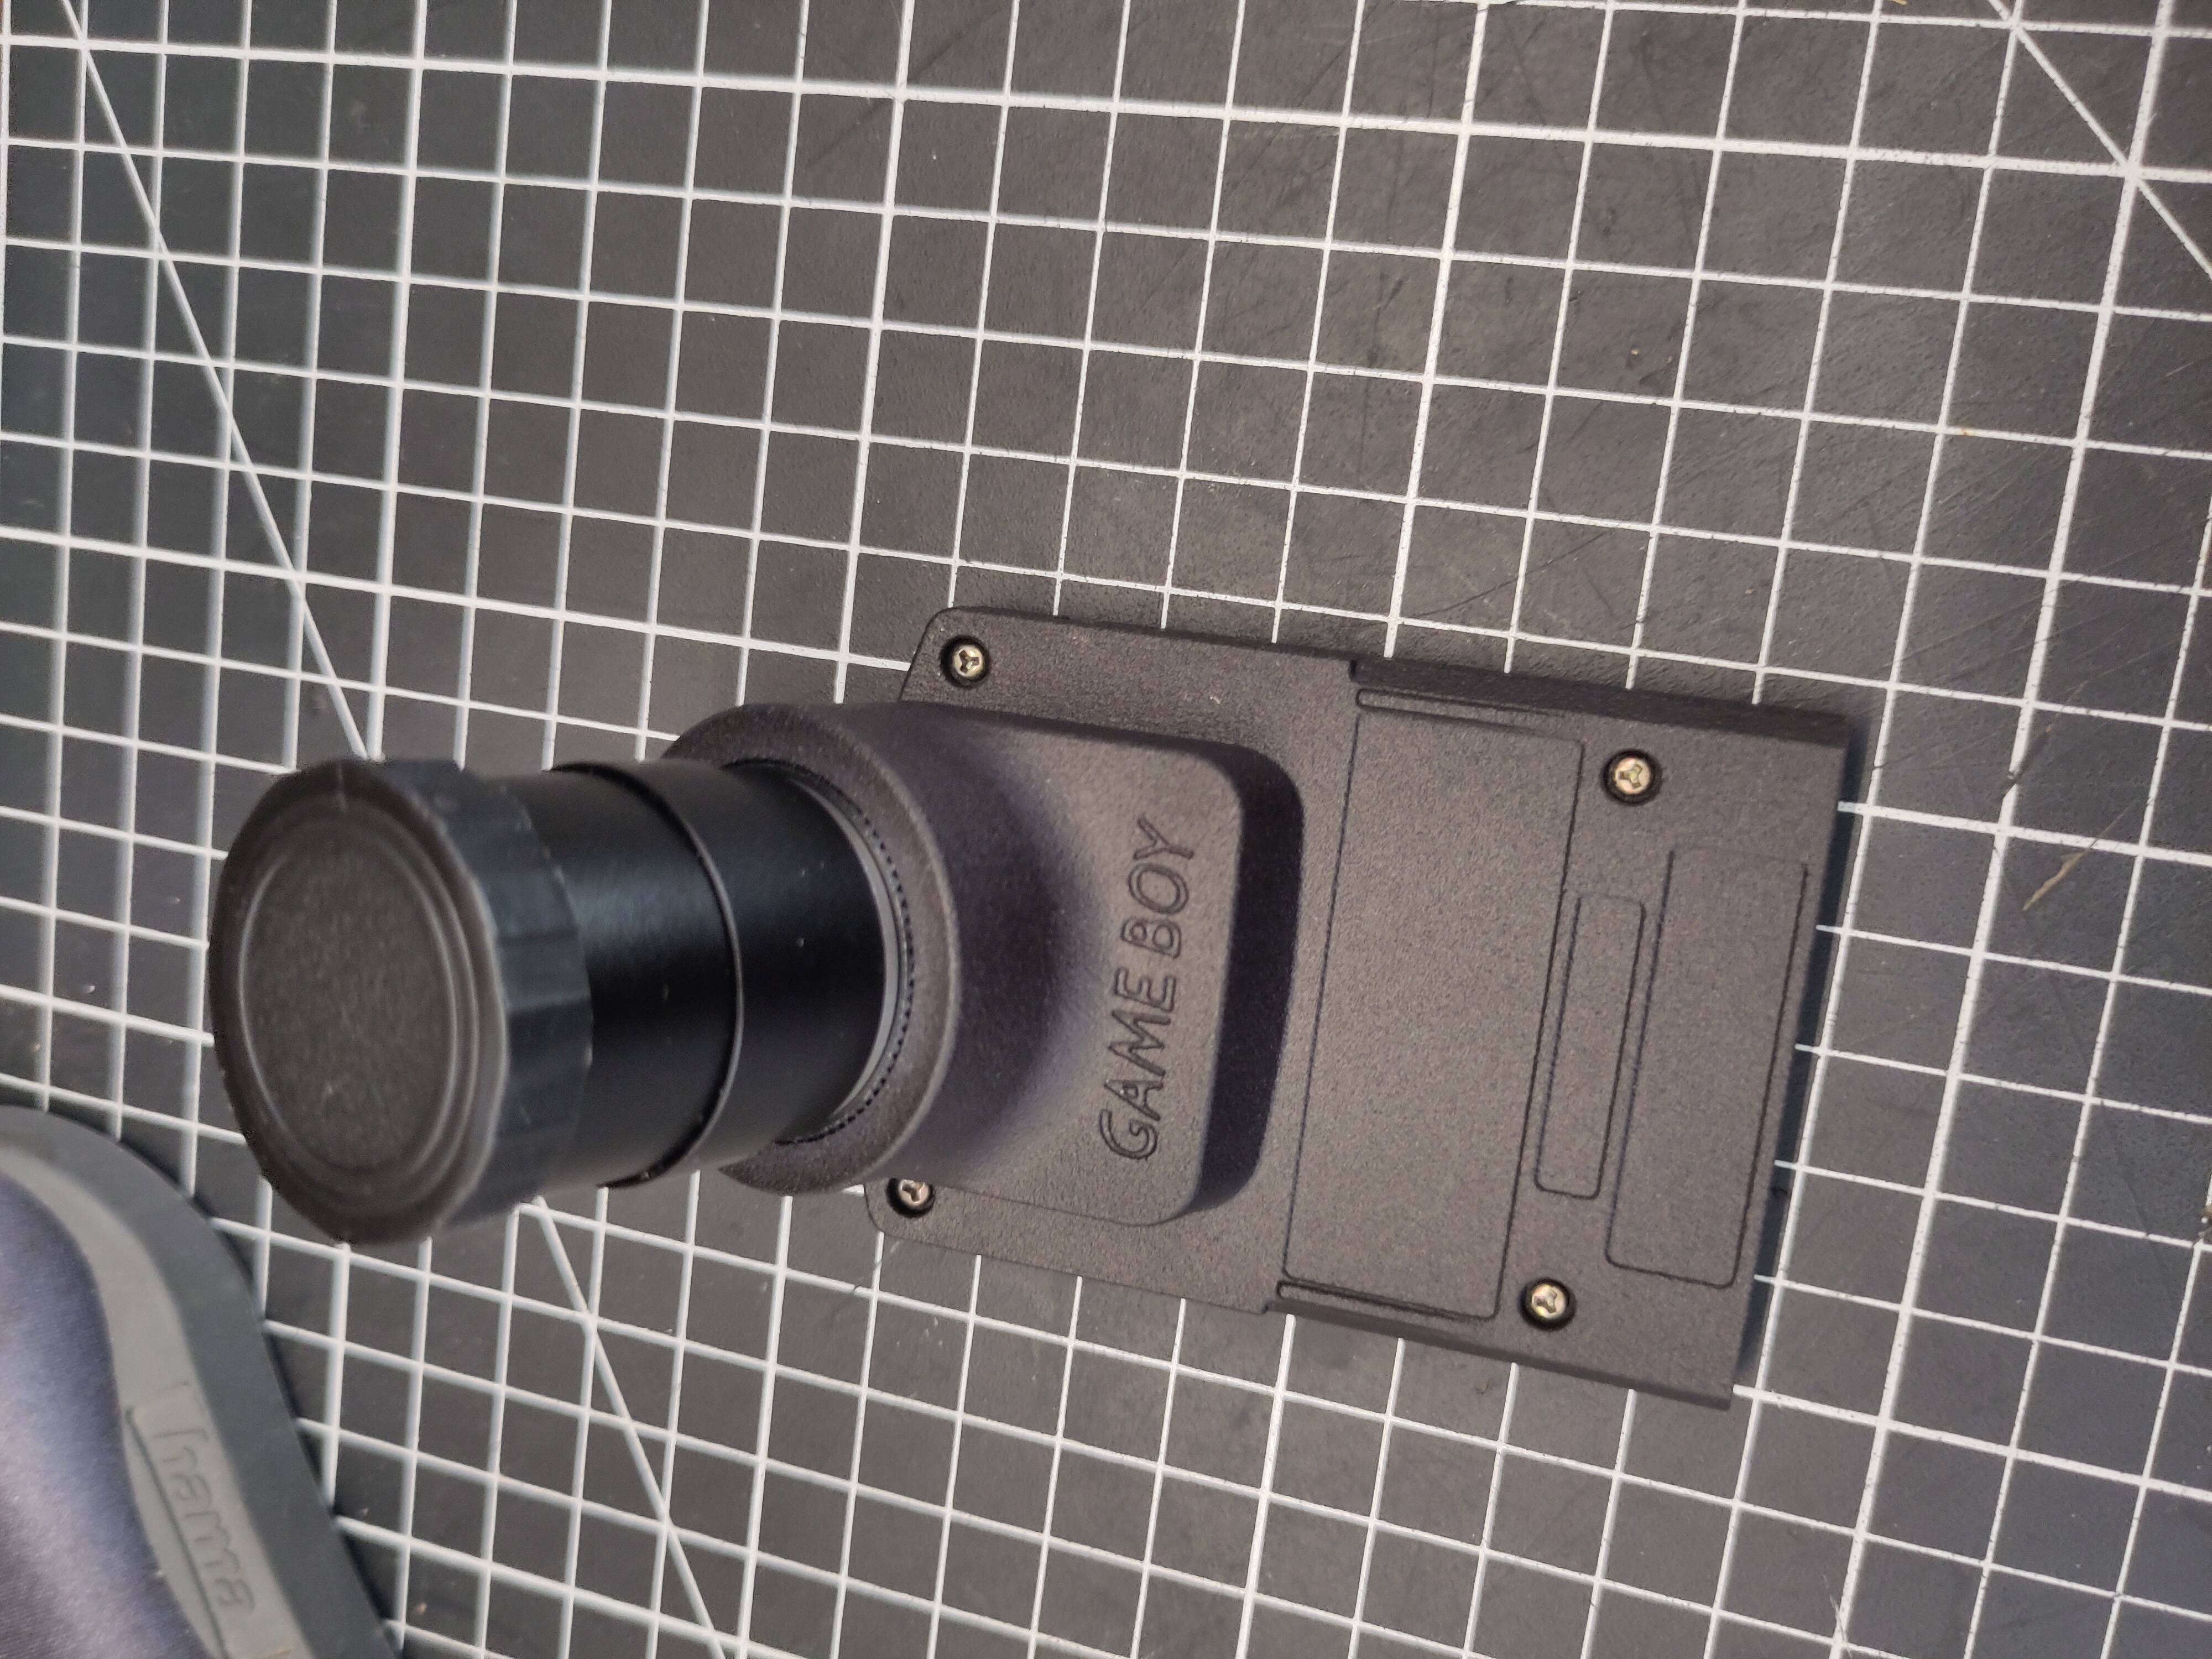
I kept the original Mitsubishi sensor and moved it into a Camera+ shell, fitted with a CS-mount adapter and a 2.8–12 mm lens. It opens up new framing and photographic possibilities while keeping the original sensor at the heart of the camera.

The sensor and the ring that holds the lens.
Installing the original sensor in a new shell.
First tests with a lens and a custom shell.

Making things fit

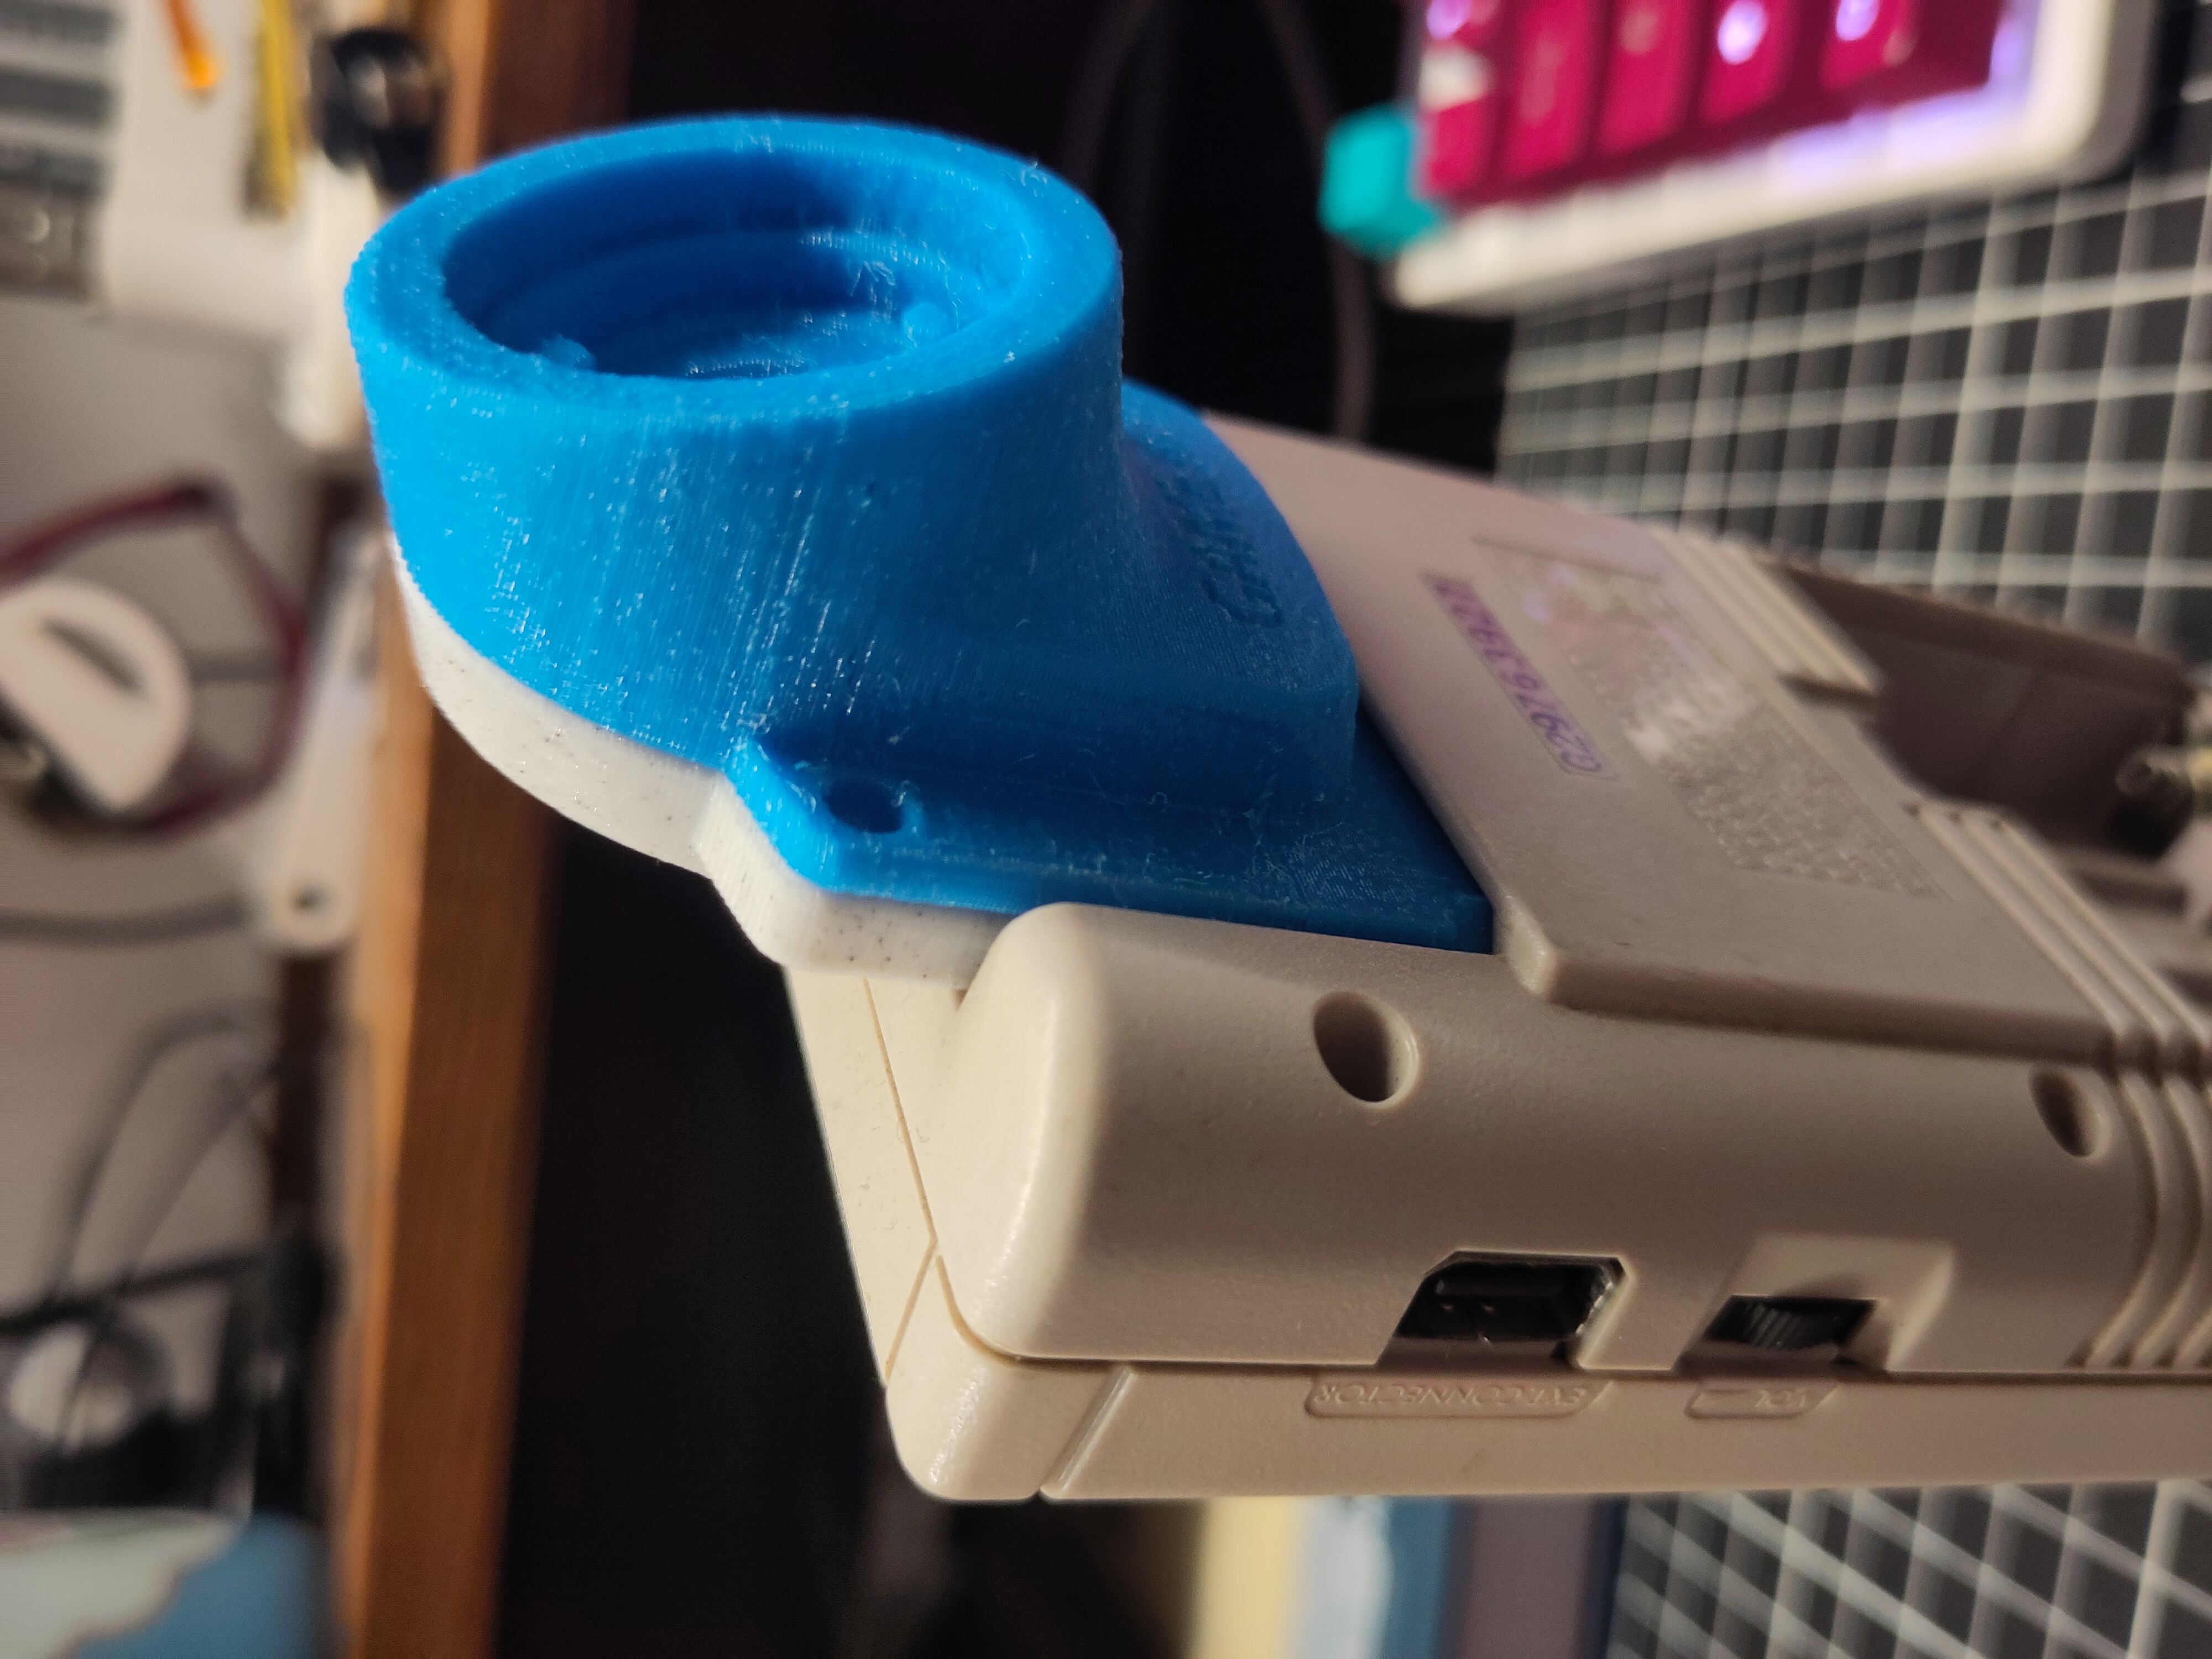
Some parts of the setup are 3D printed: camera supports, cradles and a base with a tripod mount. Nothing particularly sophisticated, just useful adaptations that make the camera easier to handle and use.

The first 3D print.
The first 3D print.
Installing a tripod mount on a 3D printed base.

A new cartridge

I replaced the original cartridge with a Game Boy Mini Flashable Camera PCB, running Photo! by untoxa.

This homebrew software takes the original Game Boy Camera further, with additional shooting modes, manual settings and more control over image storage.

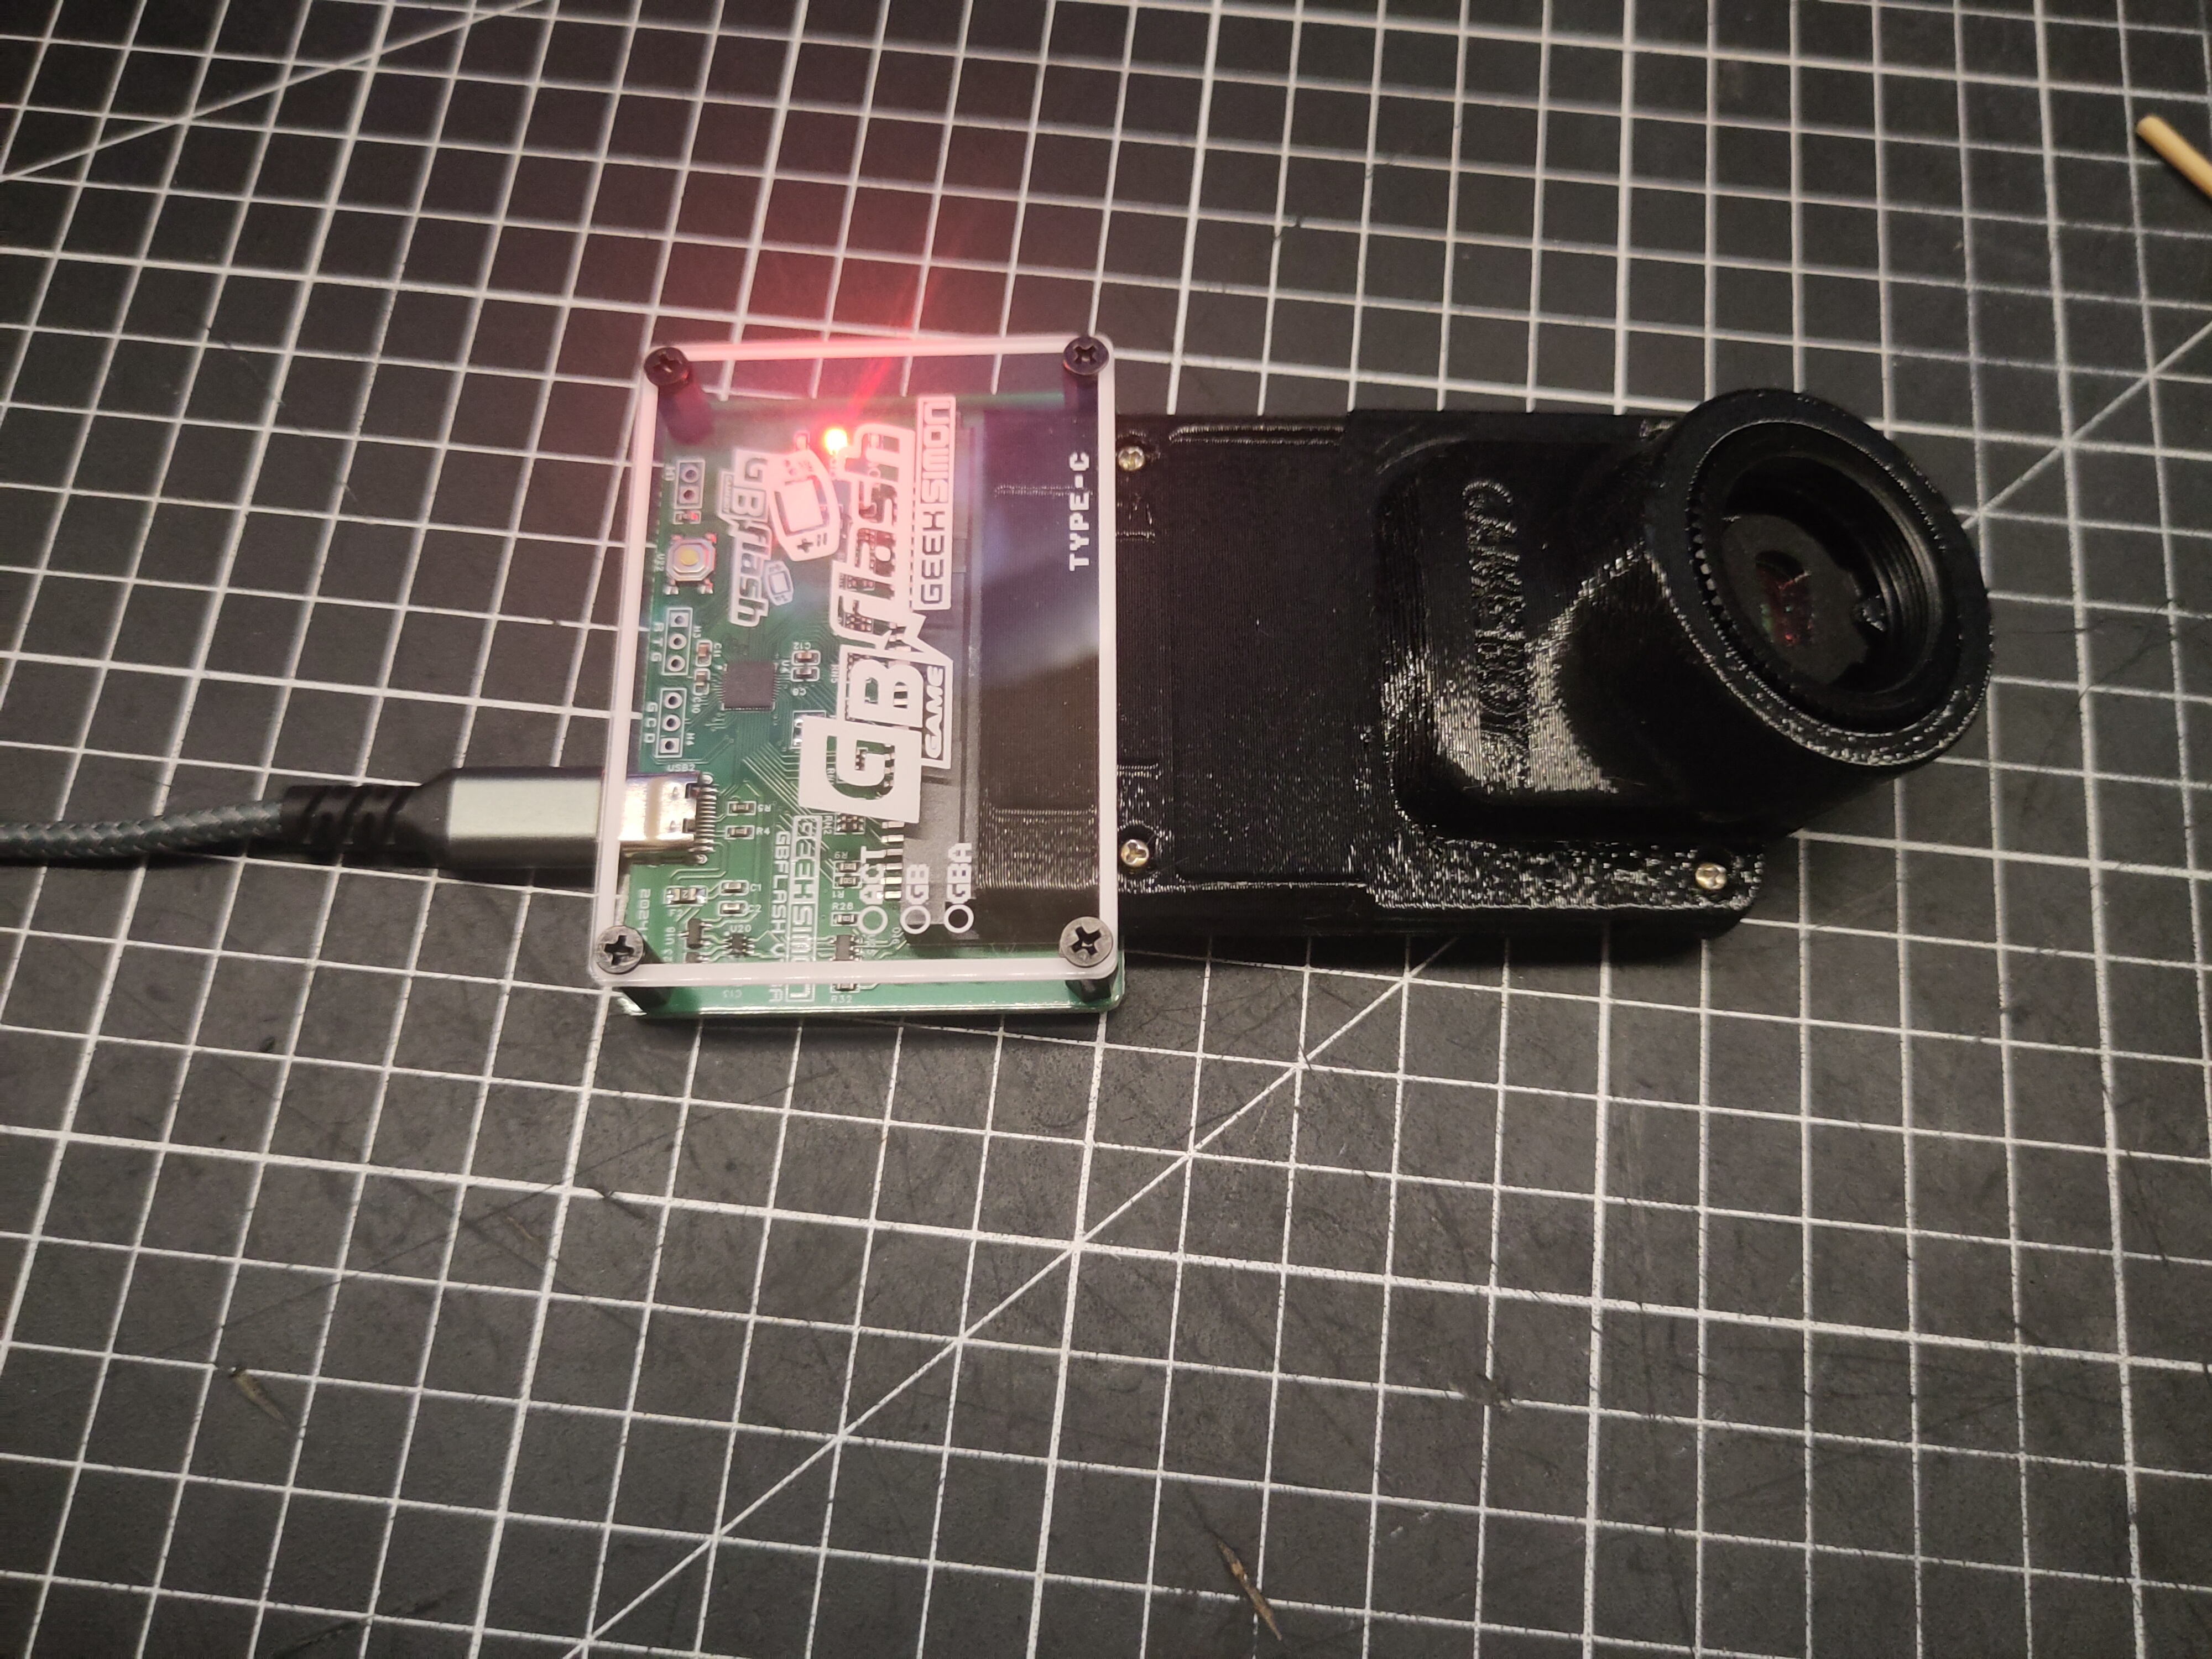
I use FlashGBX to manage the cartridge, retrieve photographs and update the software.

Open-heart surgery.
Open-heart surgery.
First cartridge with the custom PCB, and first photos. The homebrew is installed on it. Thanks to Raphaël Boichot.
FlashGBX to read saves, export photos and update the firmware.

Seeing what I’m shooting

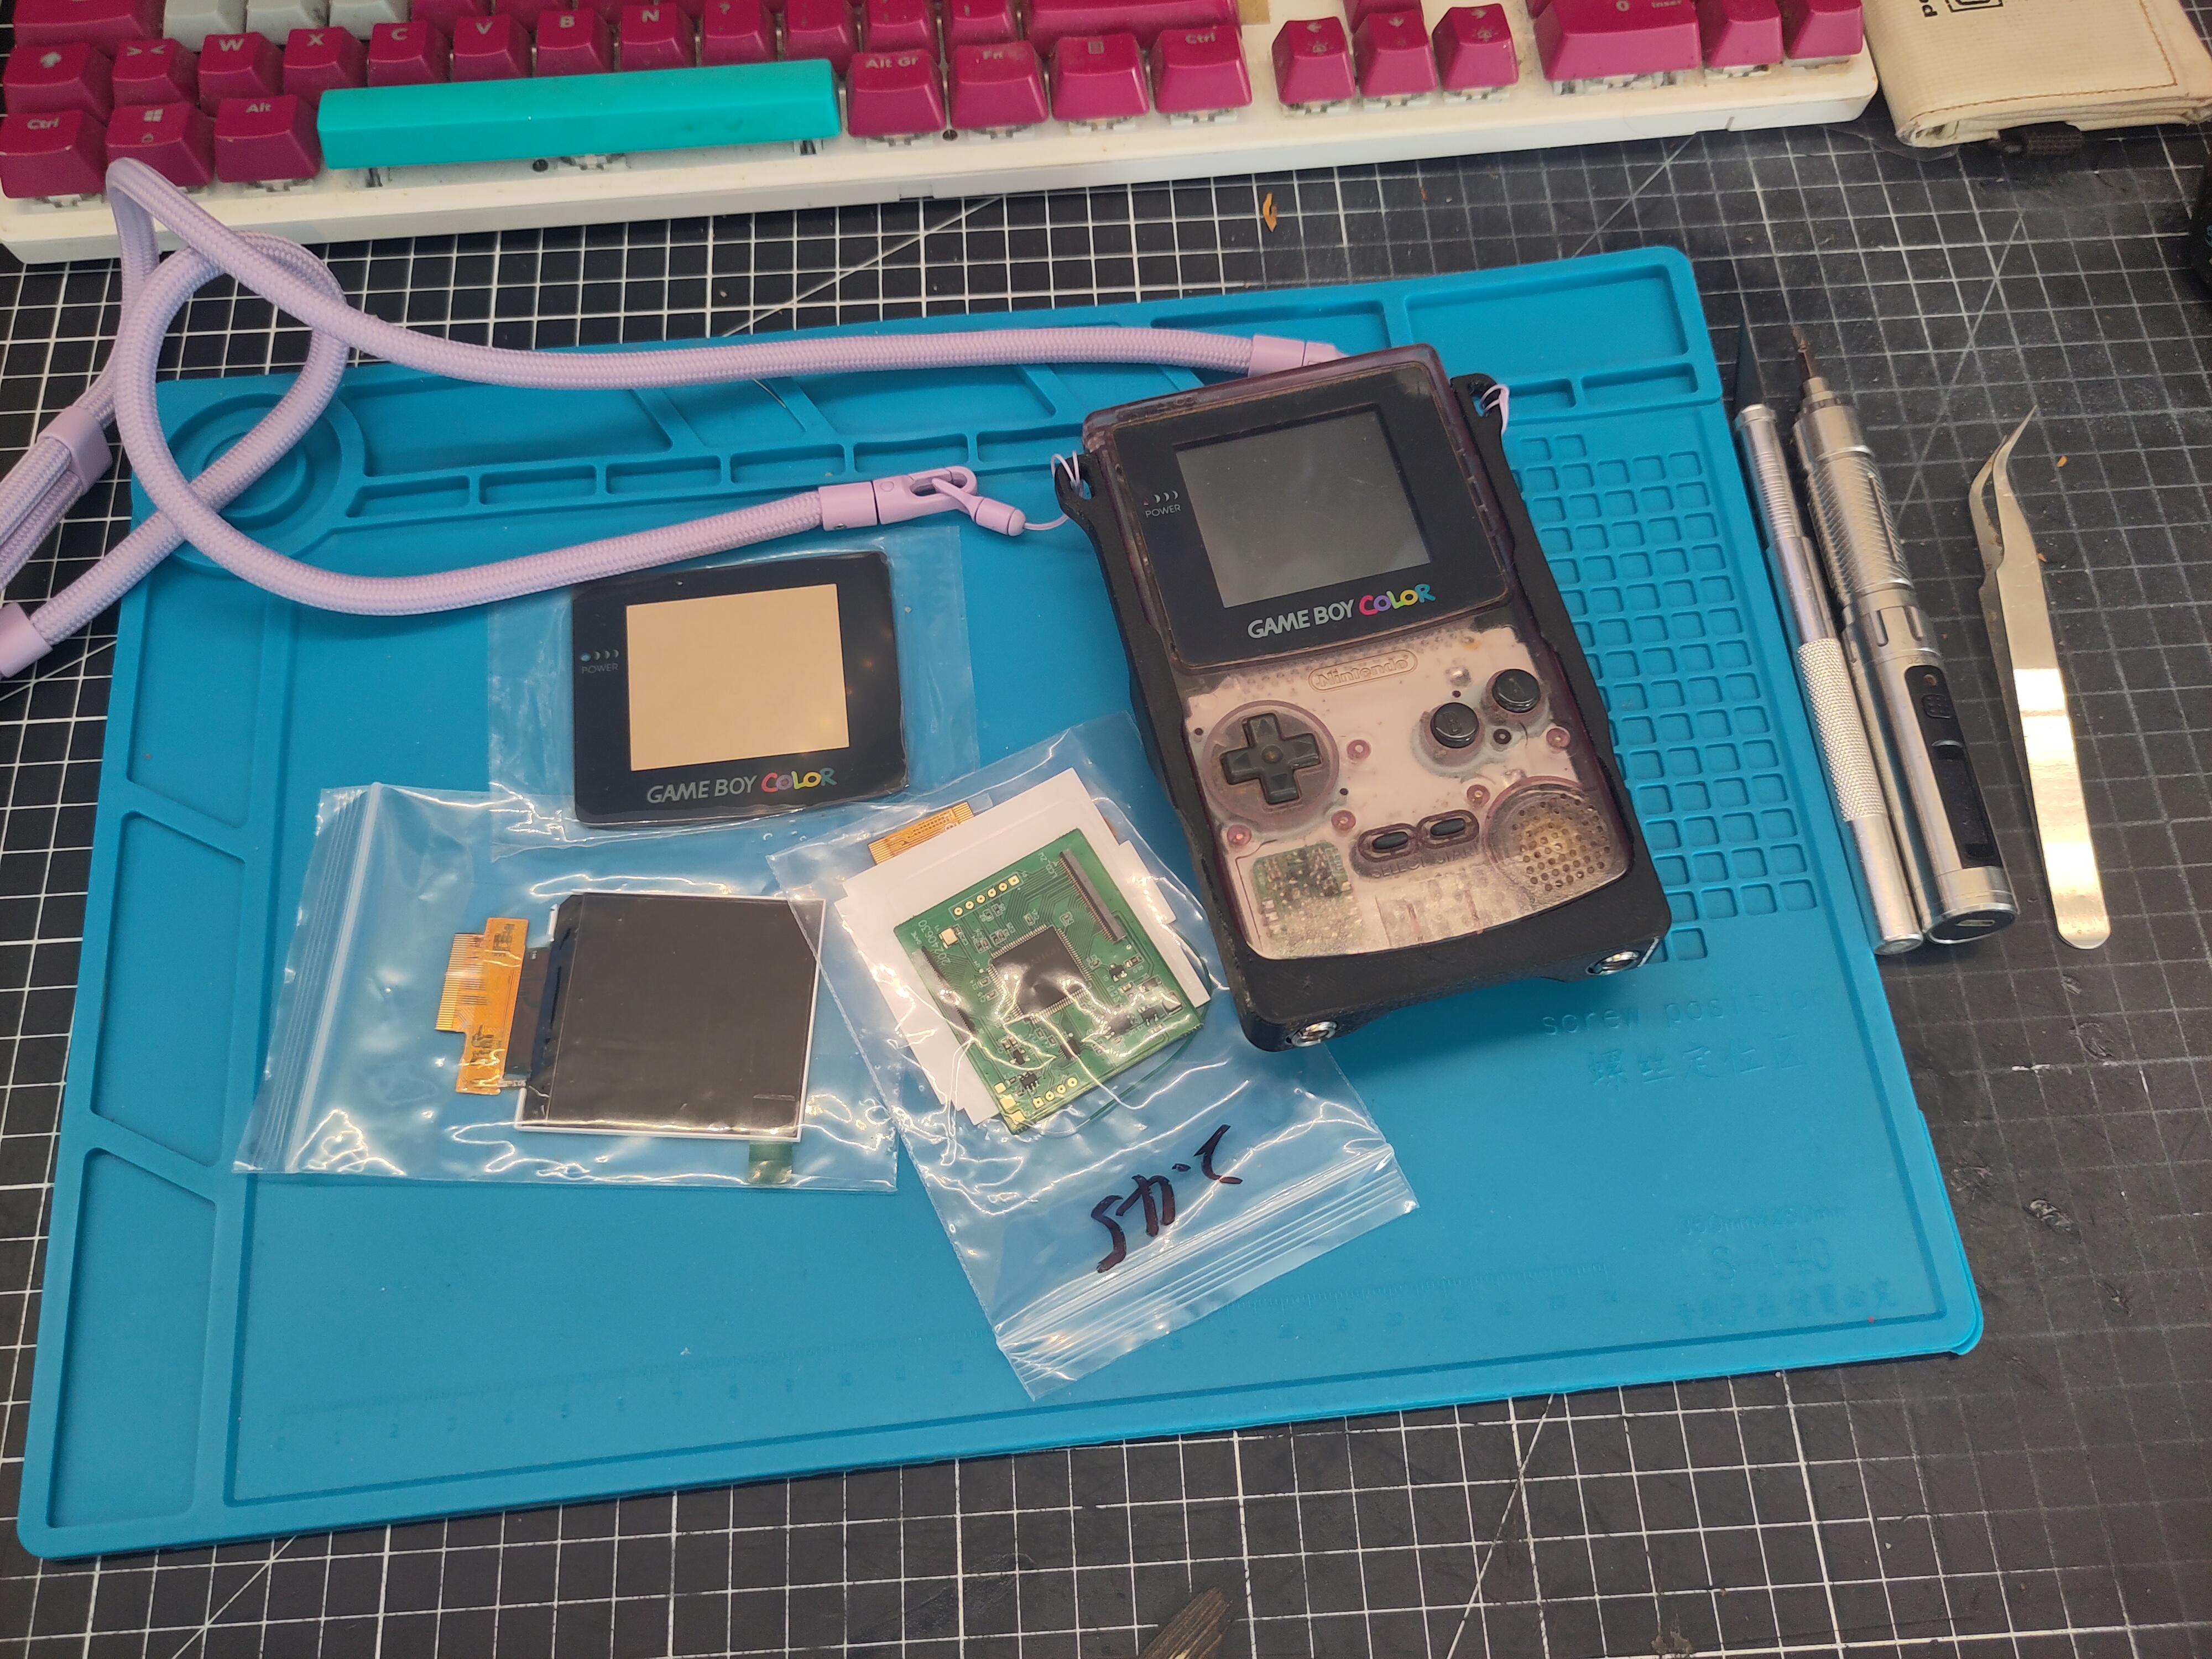
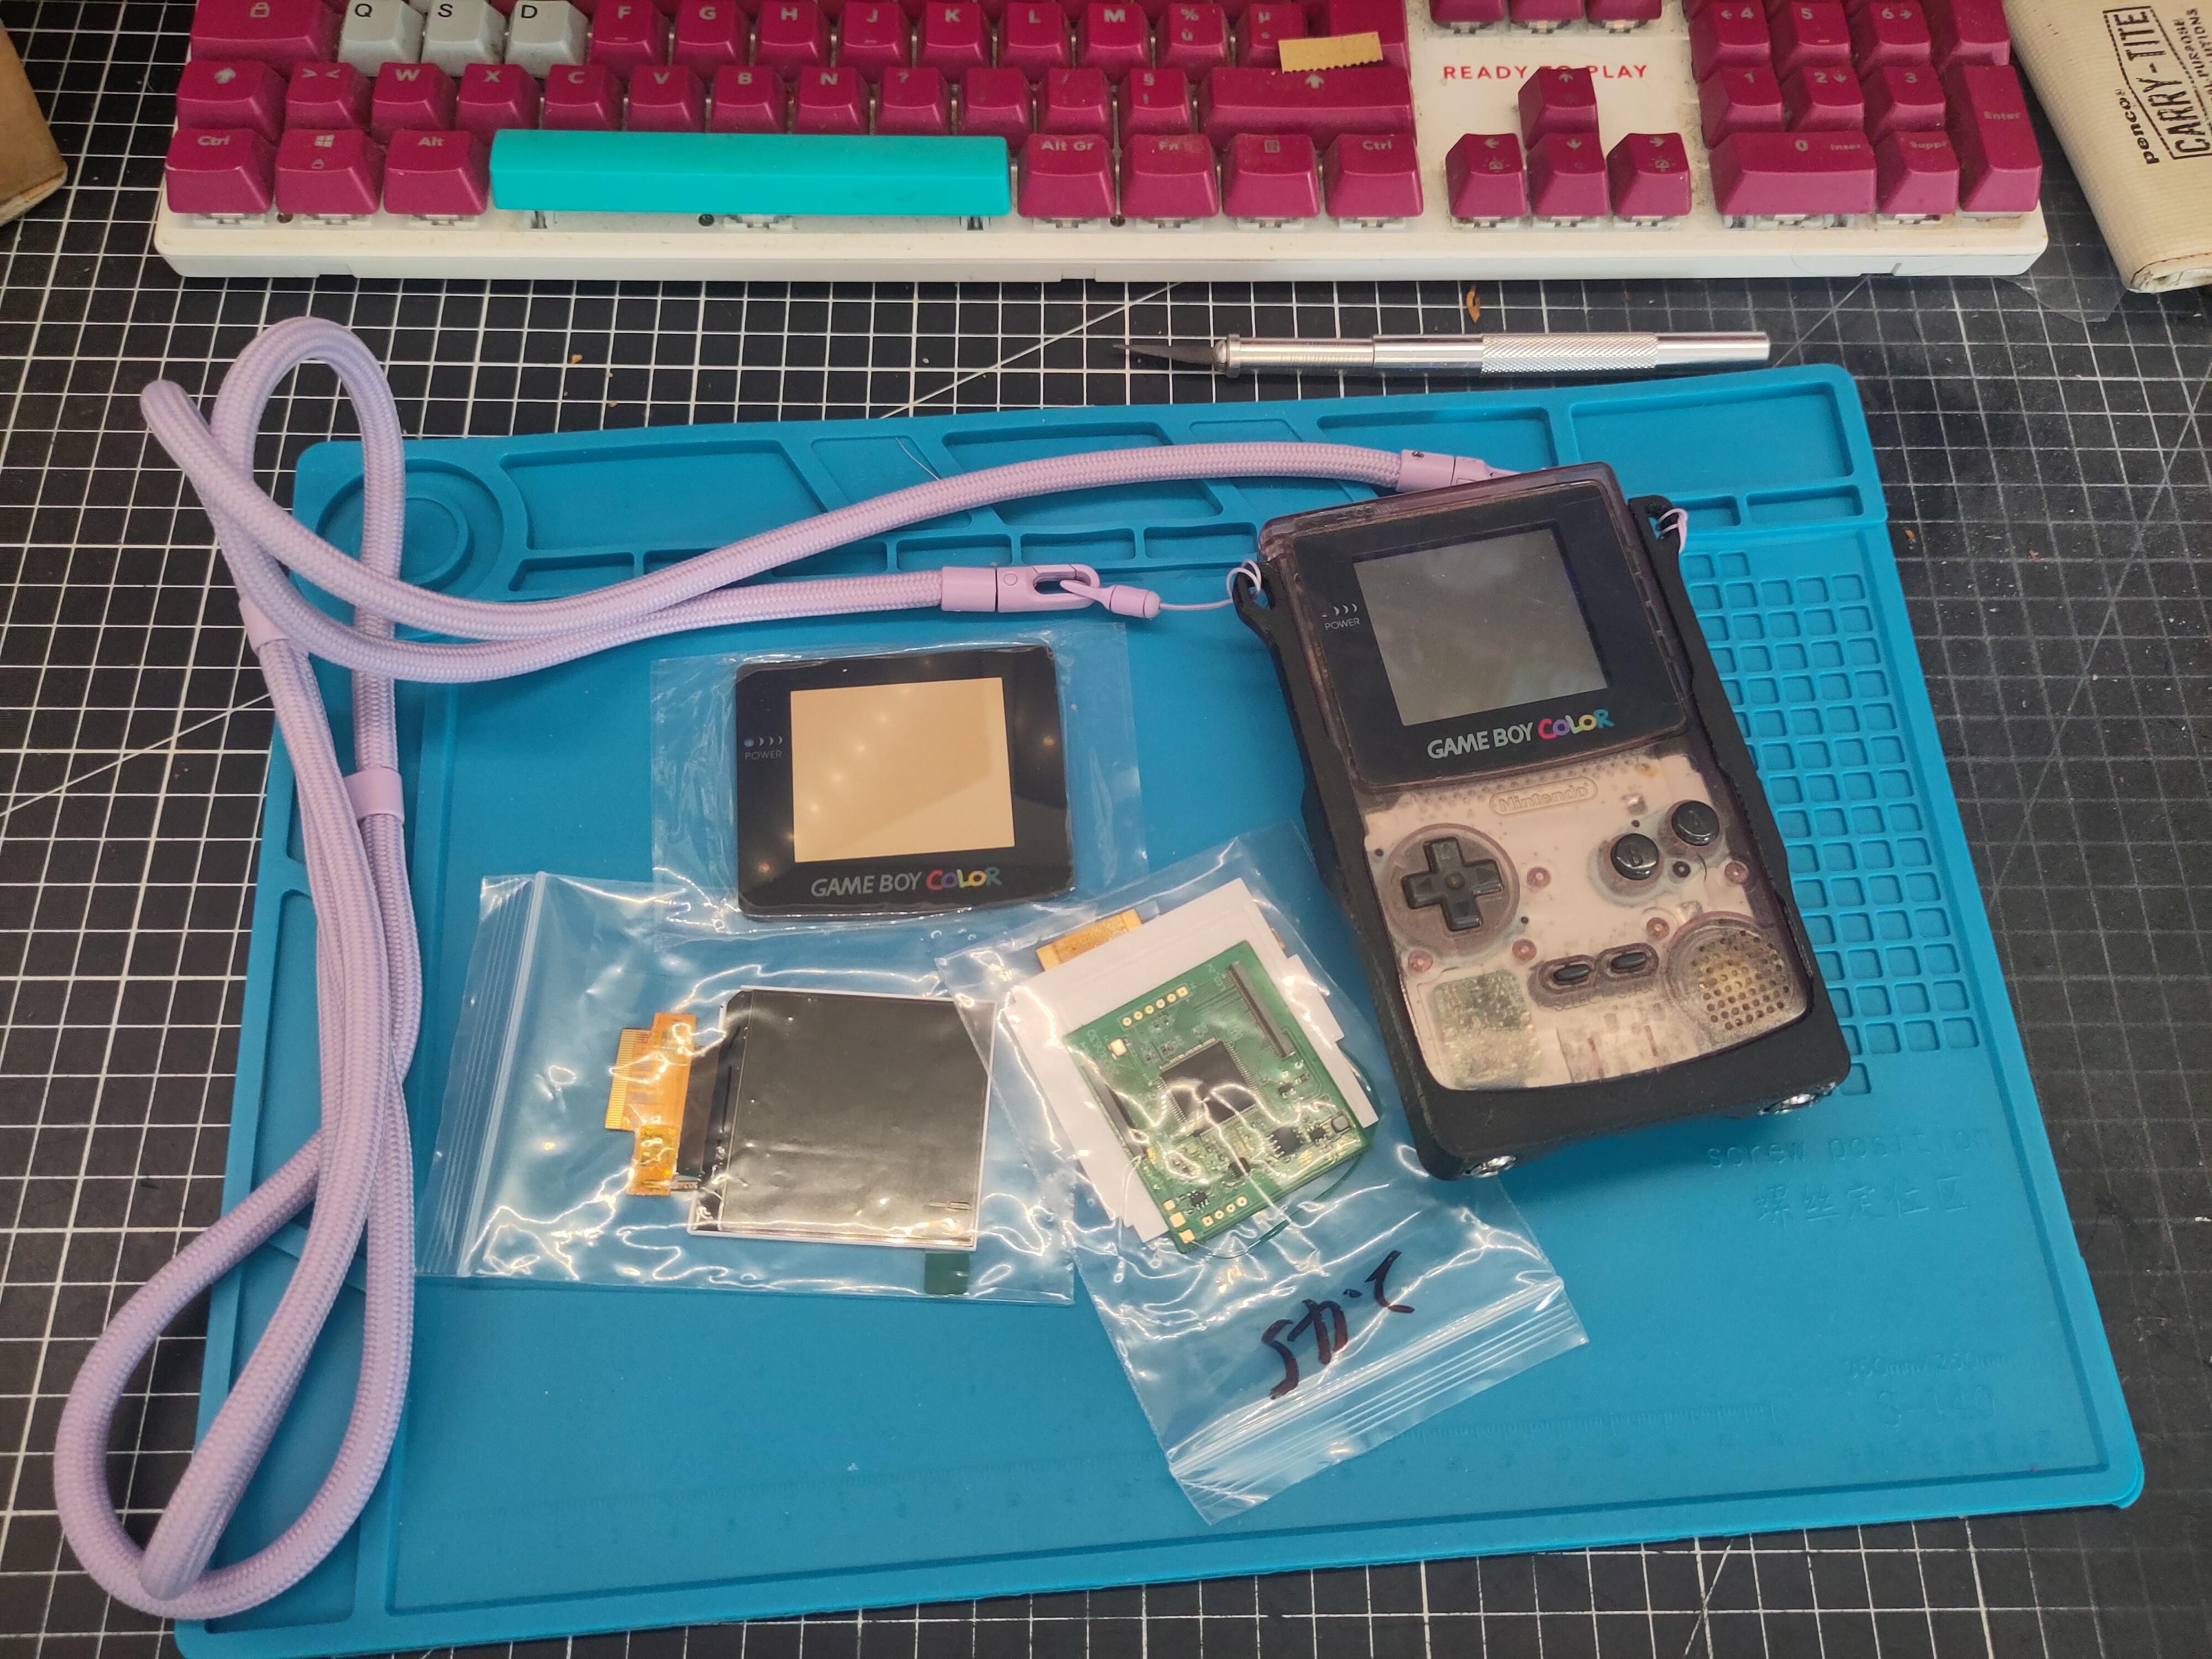
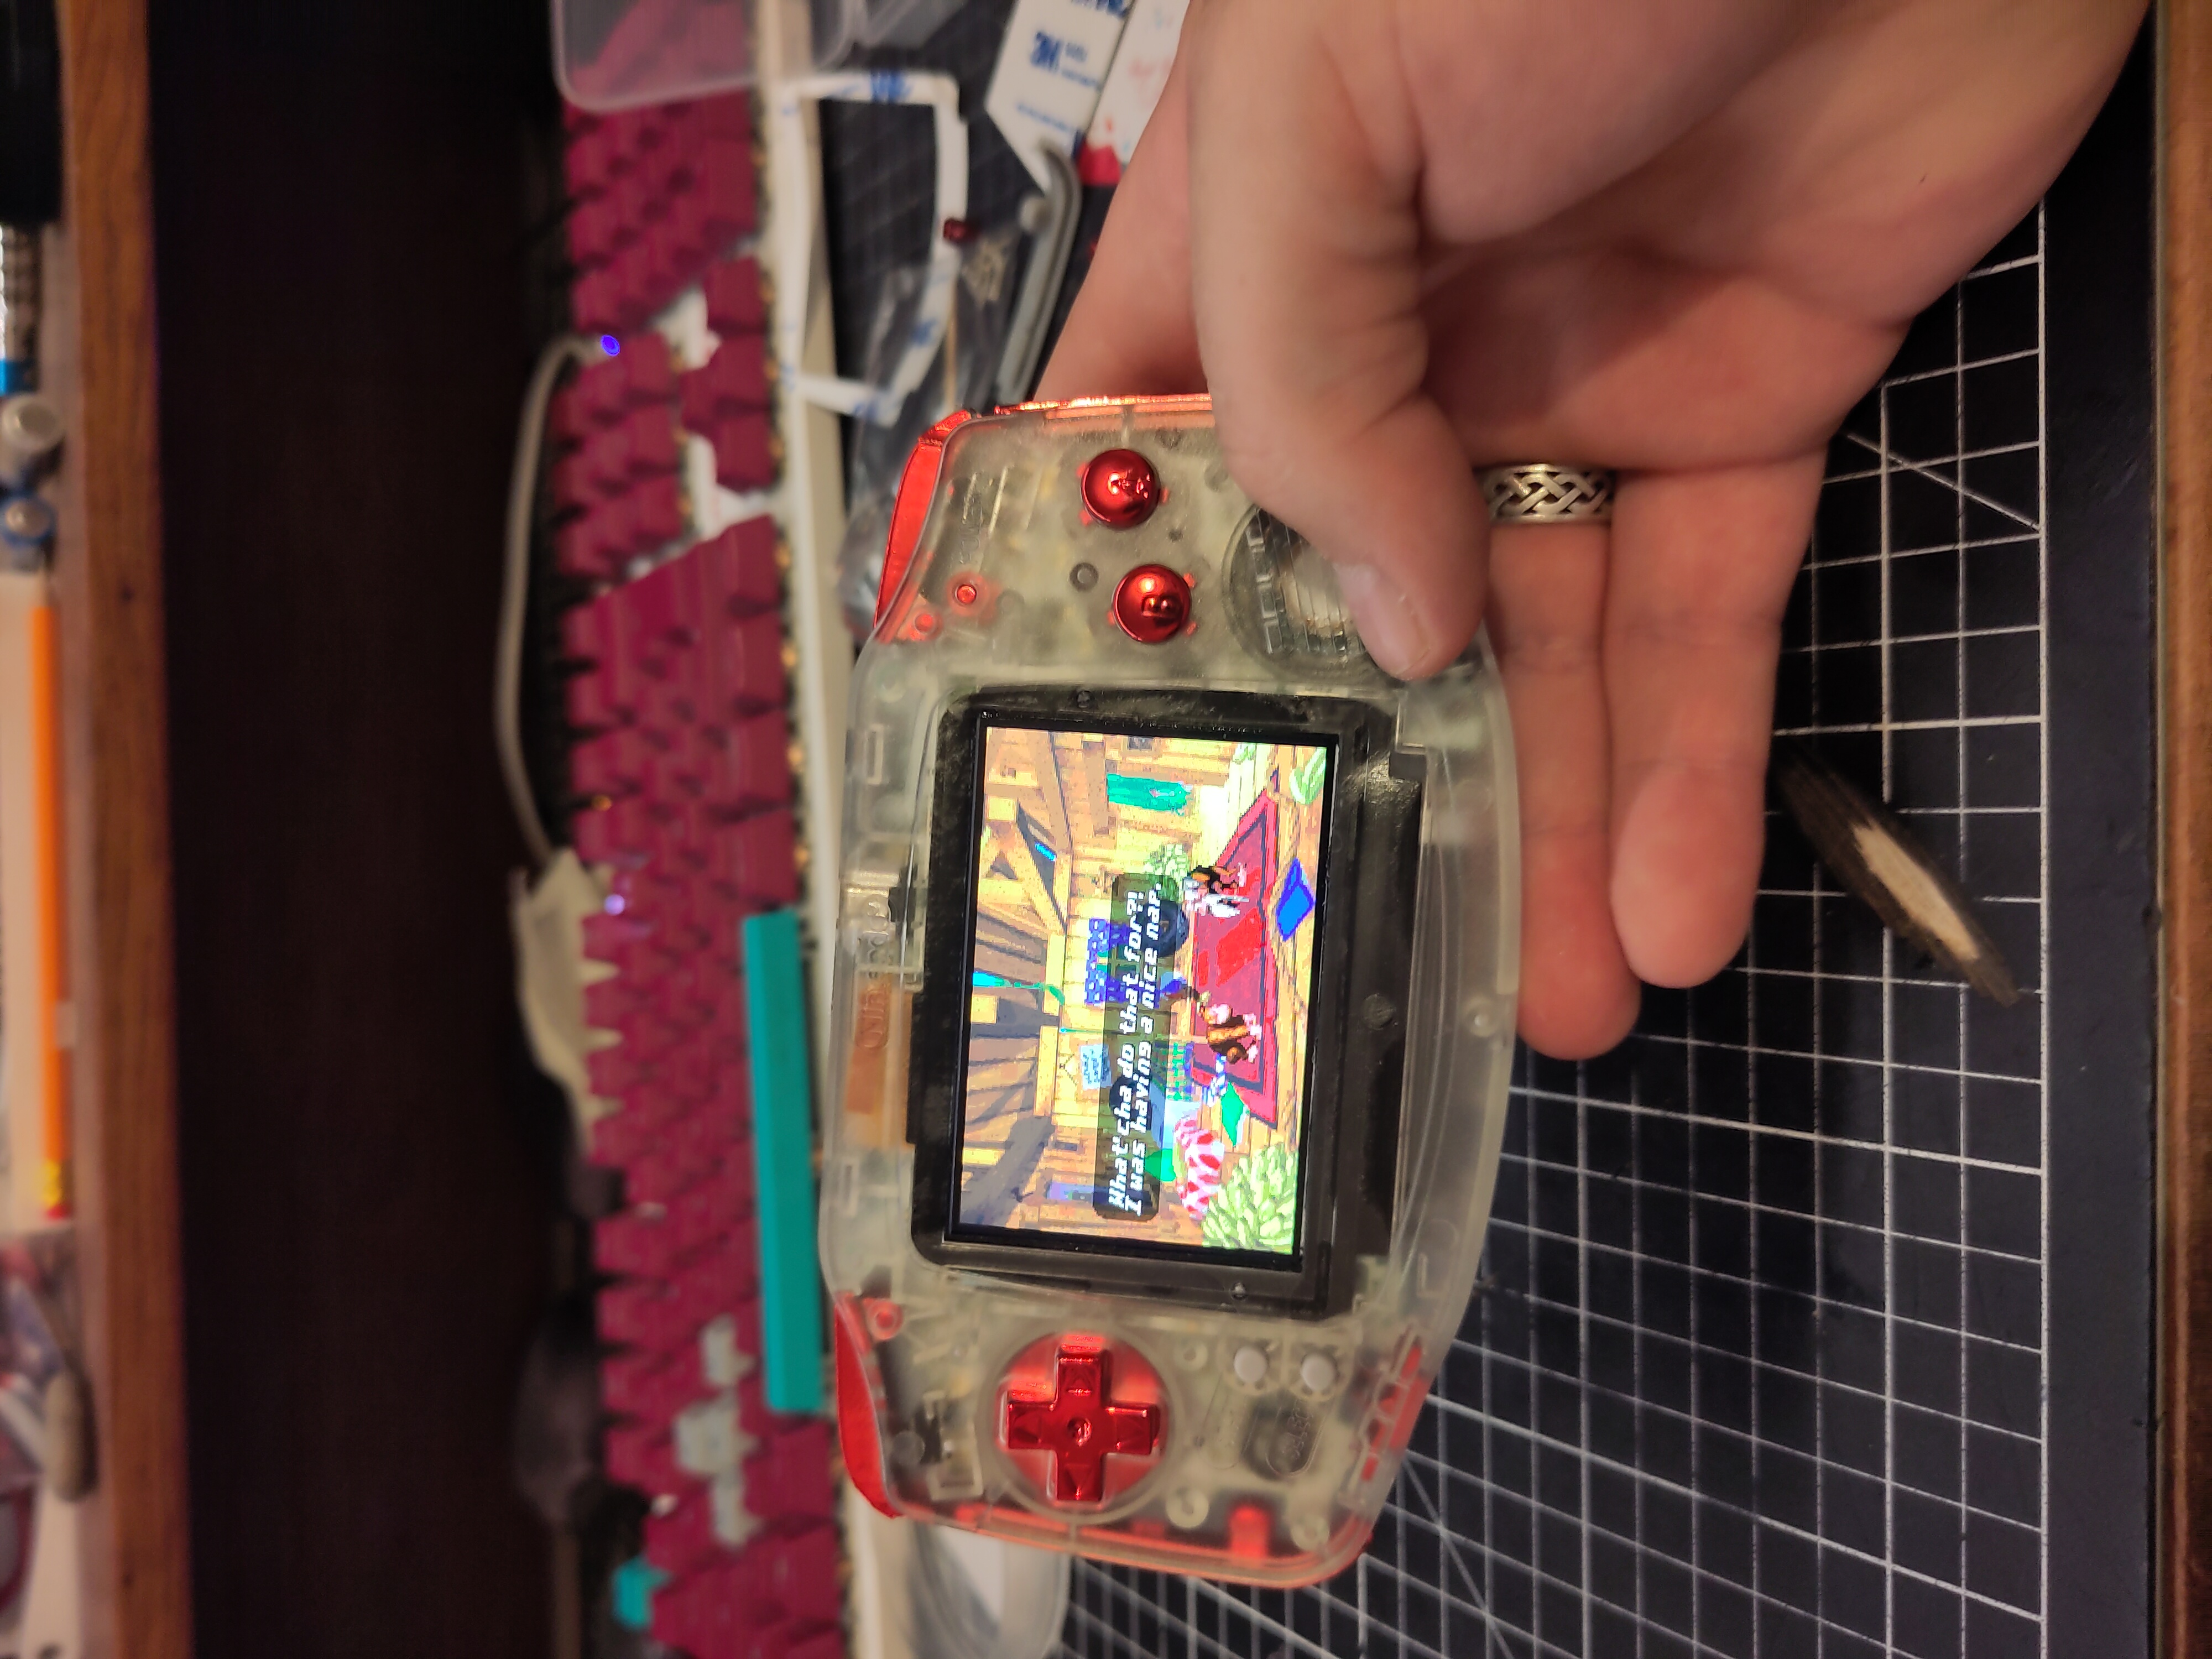
The original Game Boy screen can be difficult to use, especially in dark concert venues. A backlit LCD makes framing much easier and lets me keep shooting in low-light conditions.

Installing a backlit LCD screen to shoot more easily at concerts.

Getting the pictures out

Getting the photographs off the Game Boy is part of the process too.

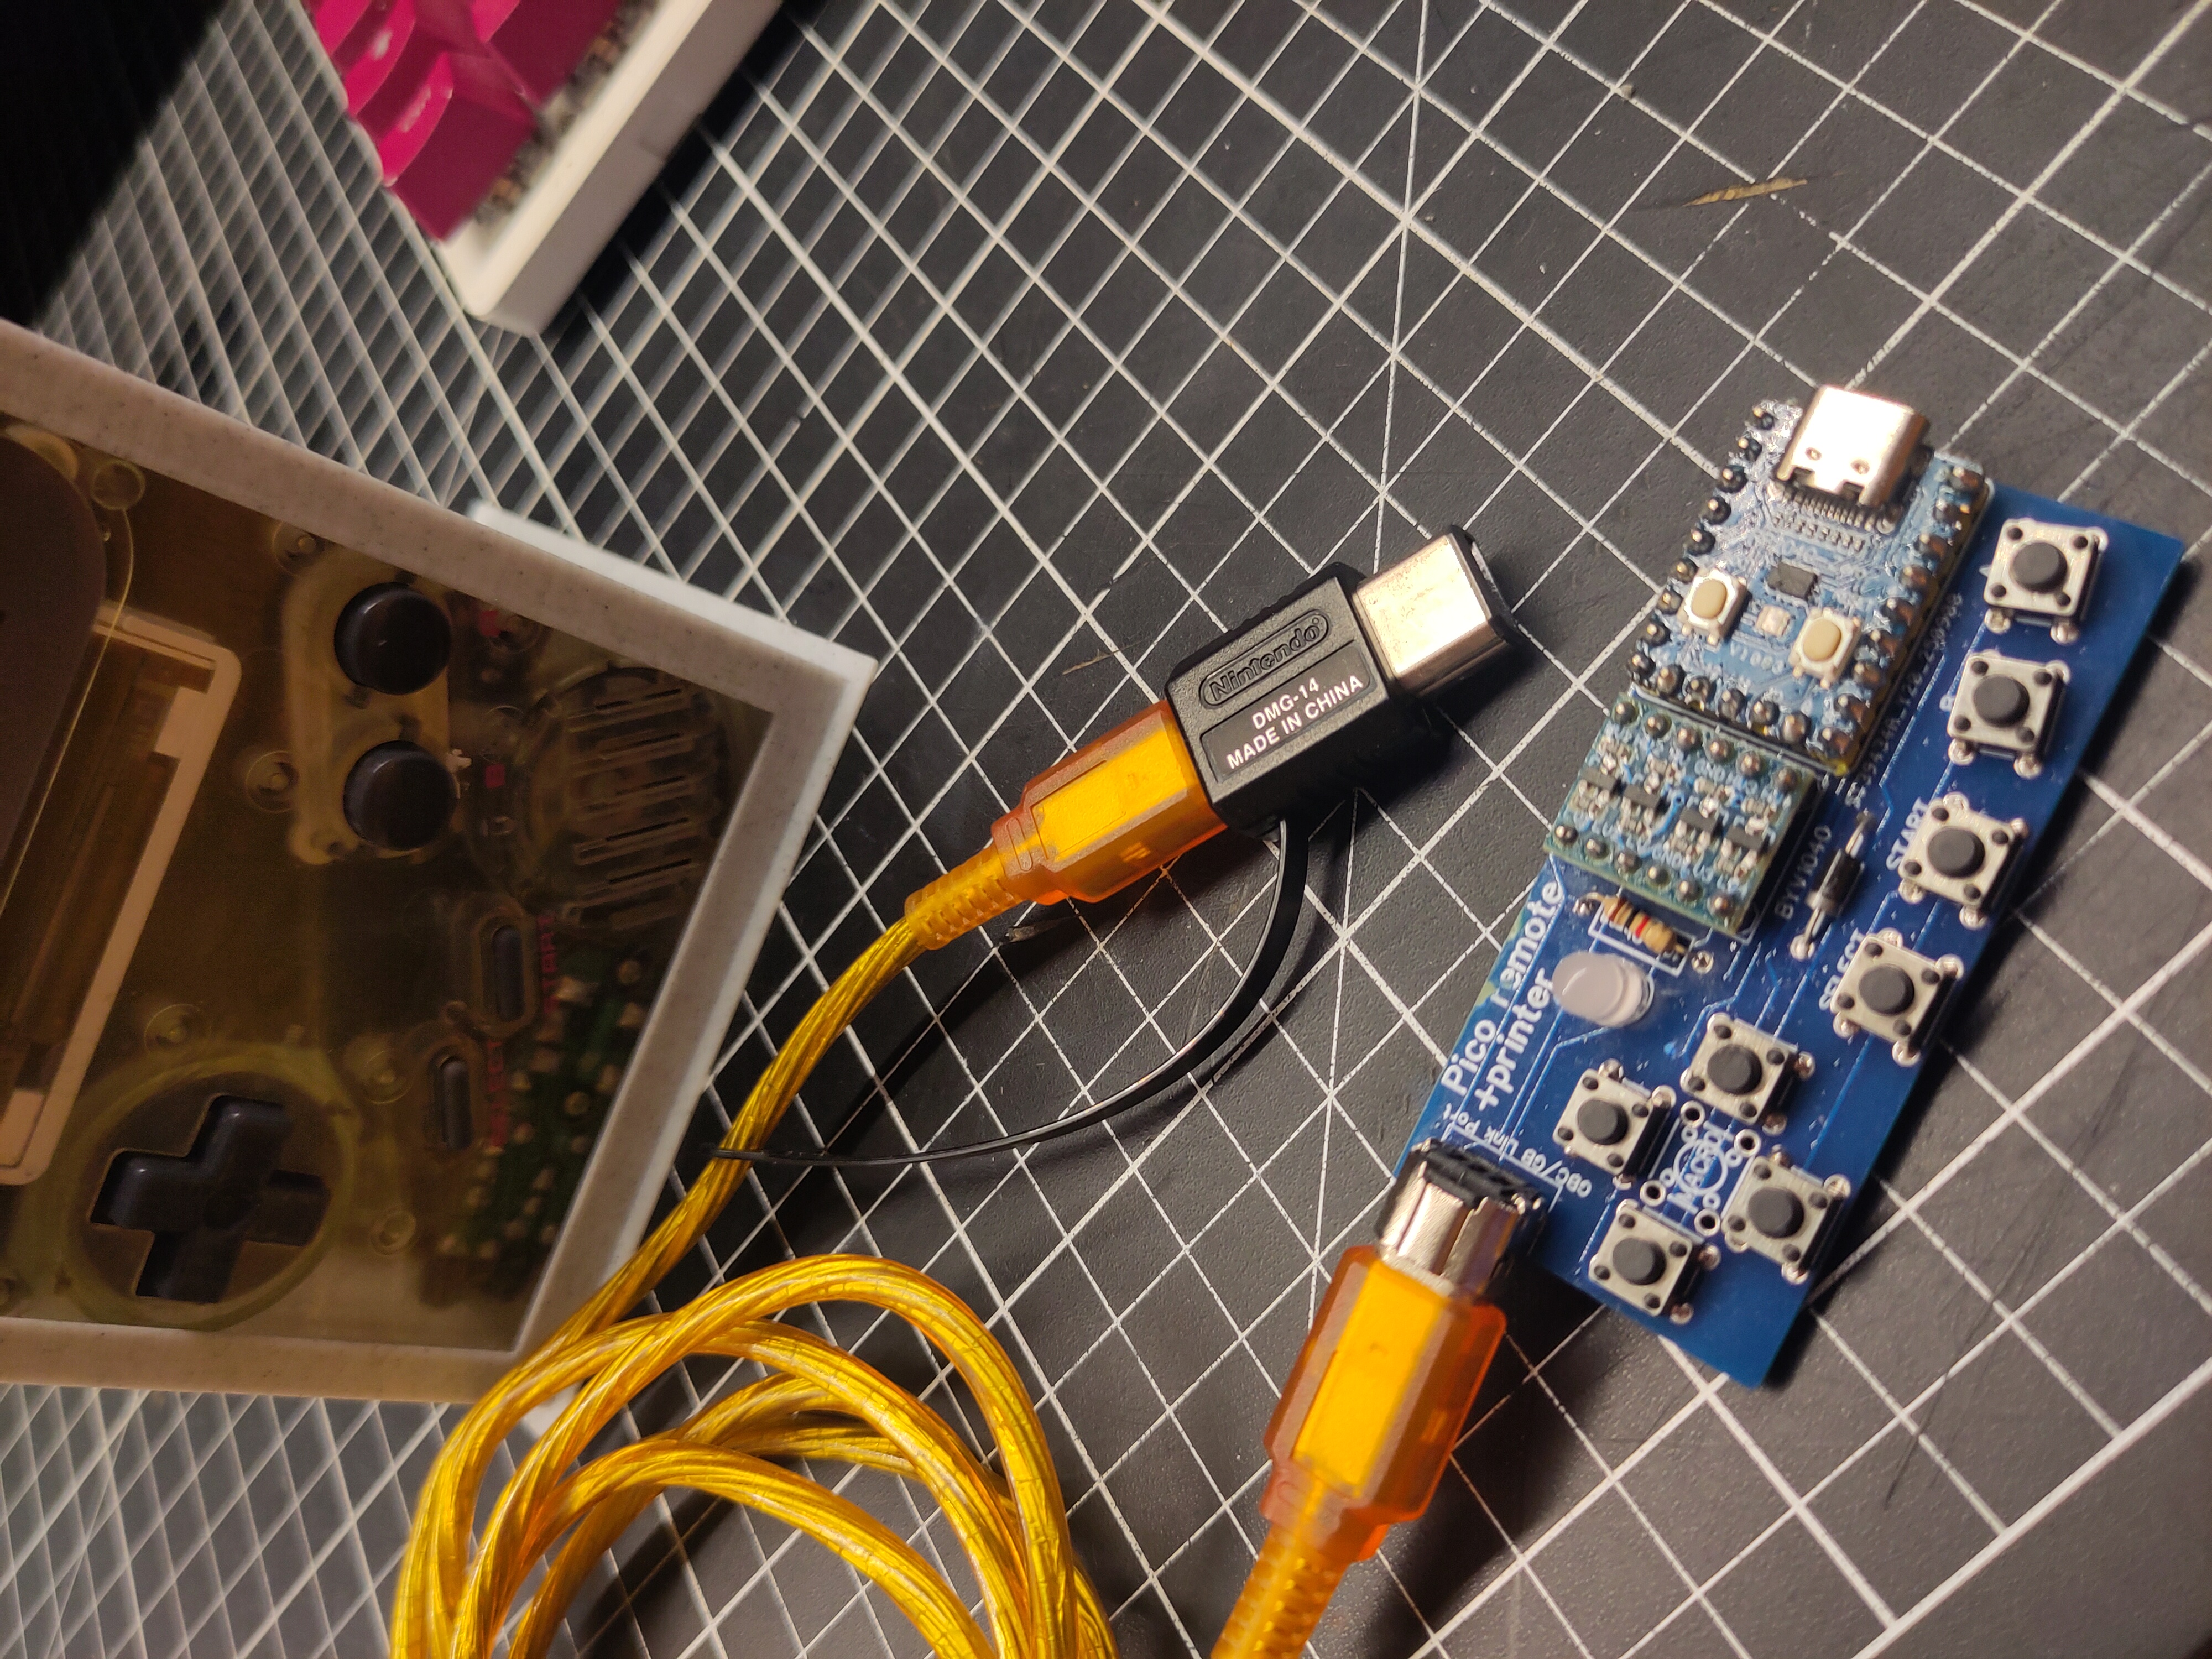
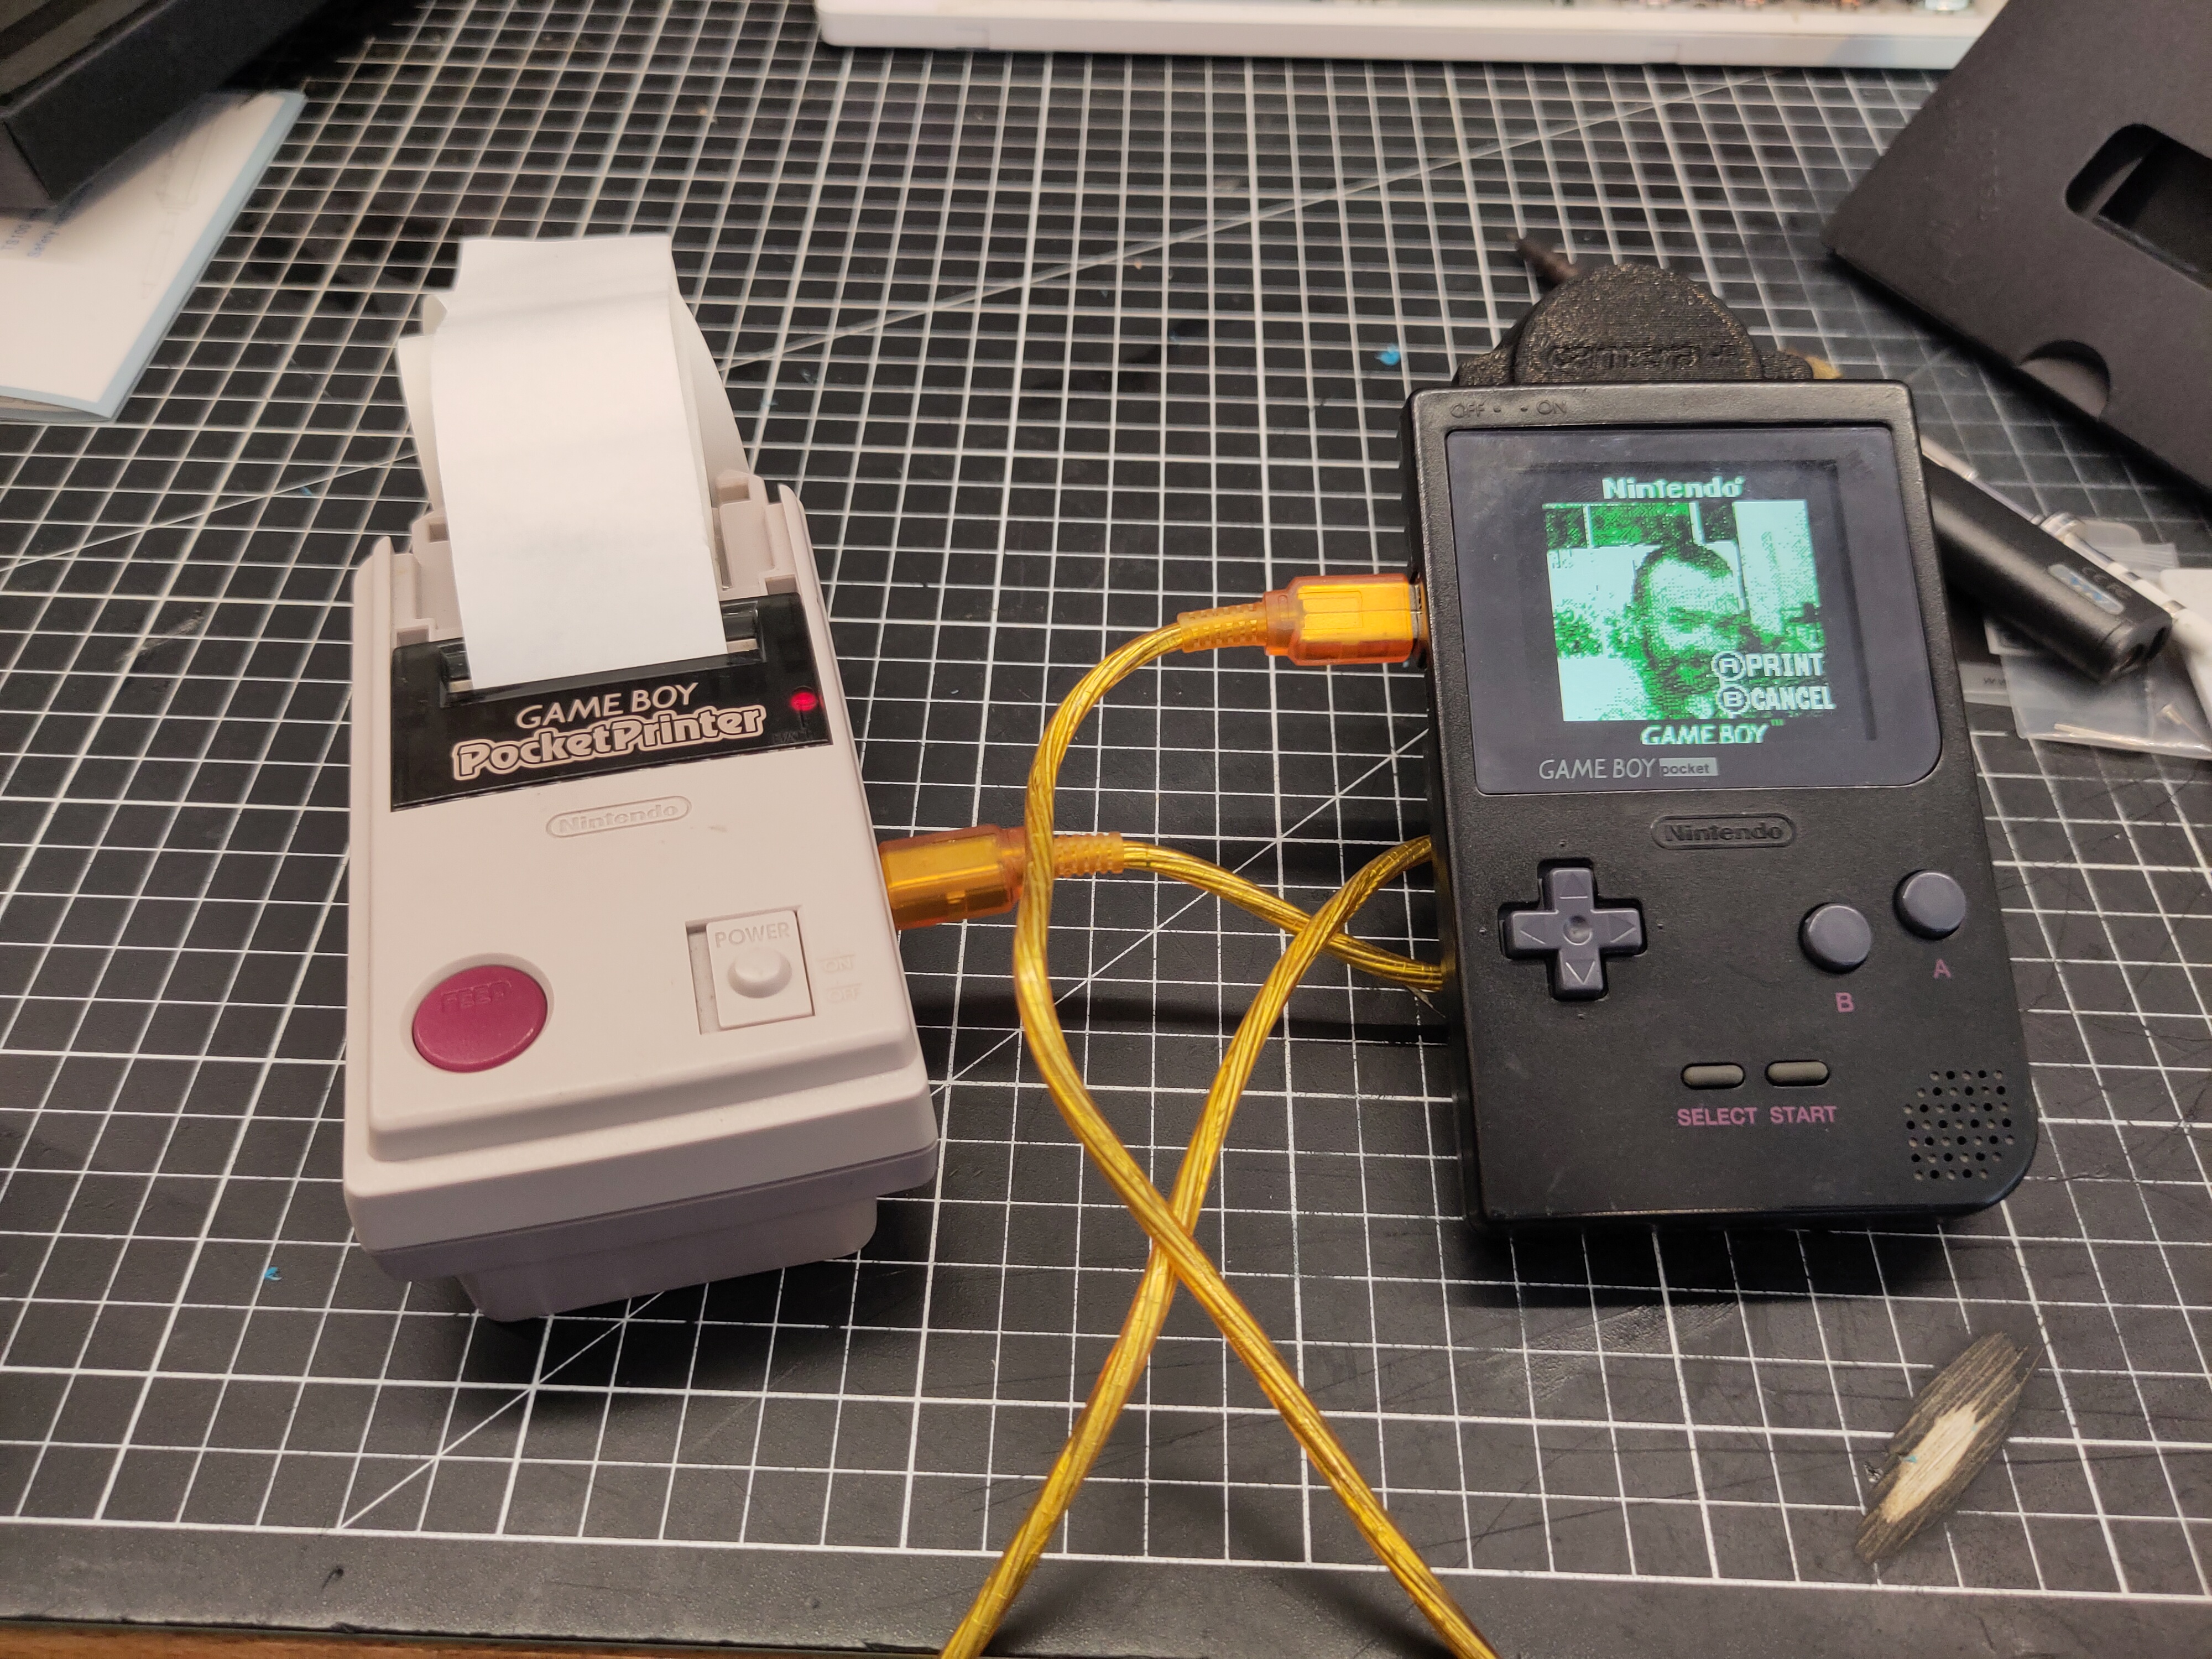
Projects such as TinyGB Printer and Pico GB Printer provide ways to transfer images digitally by emulating the original Game Boy Printer. Combined with a link cable and FlashGBX, they make it possible to bring these tiny images into a modern digital workflow.

There is still some tinkering involved. Not every experiment works on the first try.

Link cable with its extensions for the bulkier Game Boys.
Testing the Game Boy Printer.
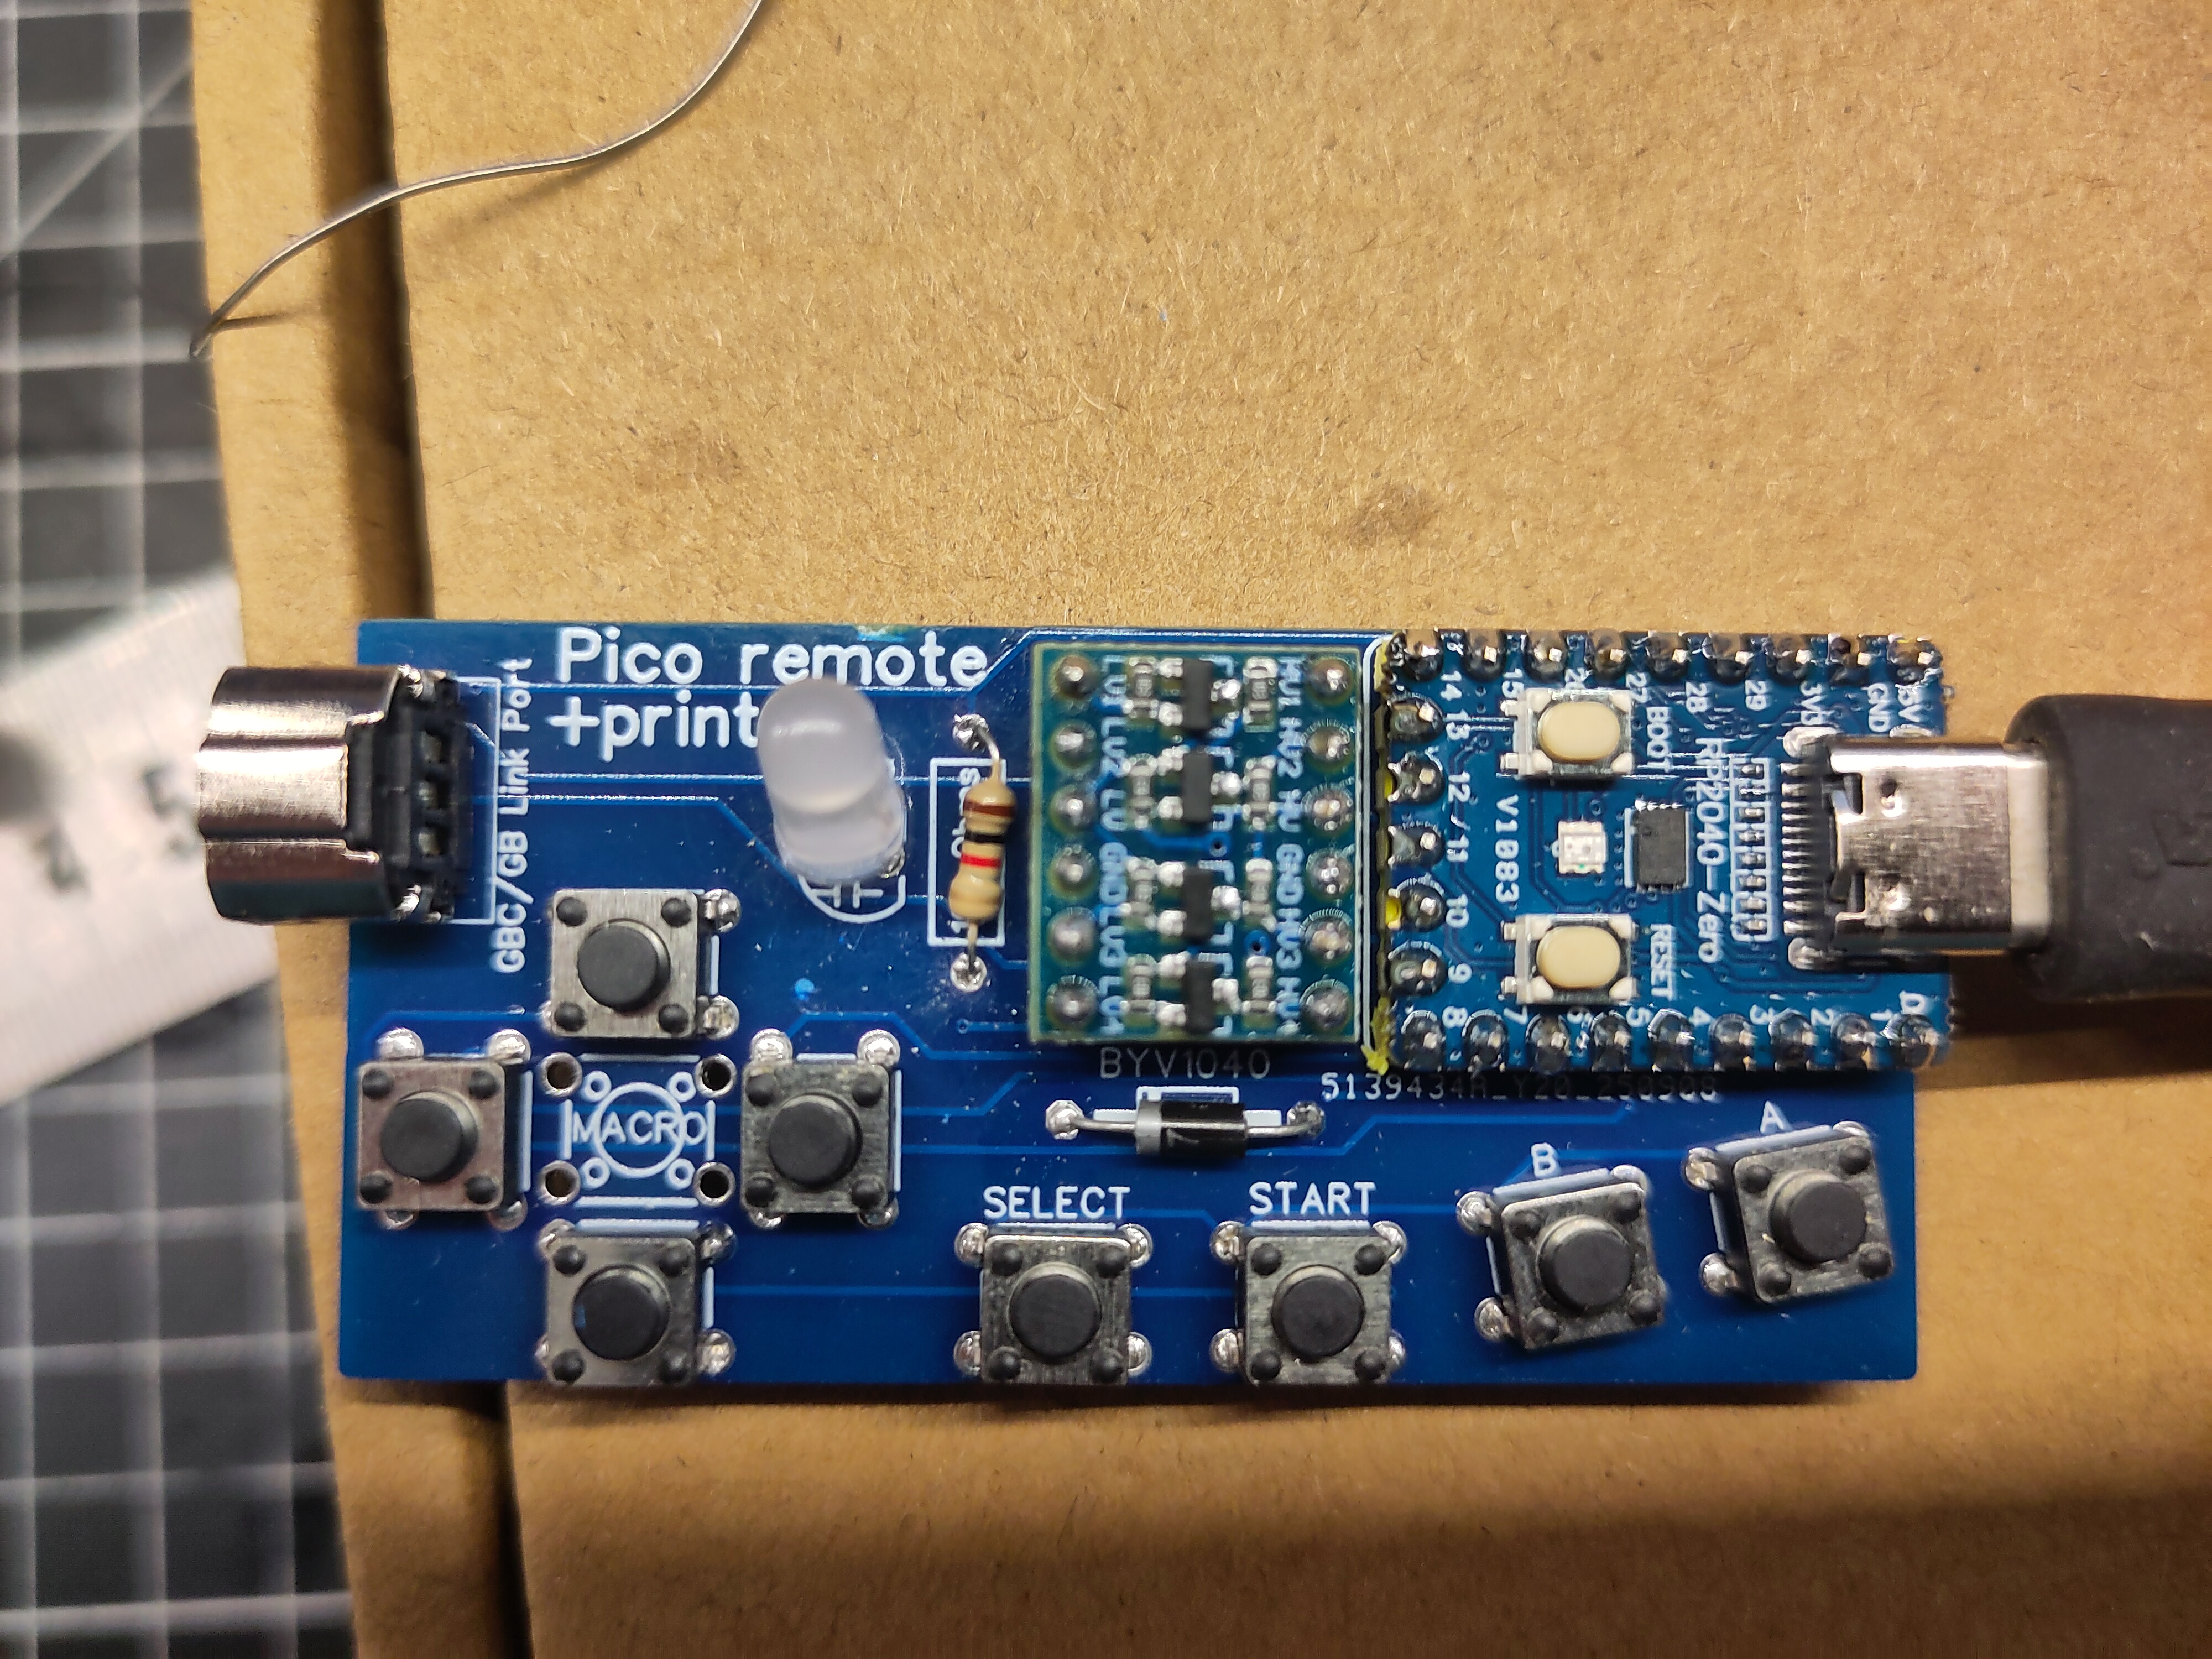
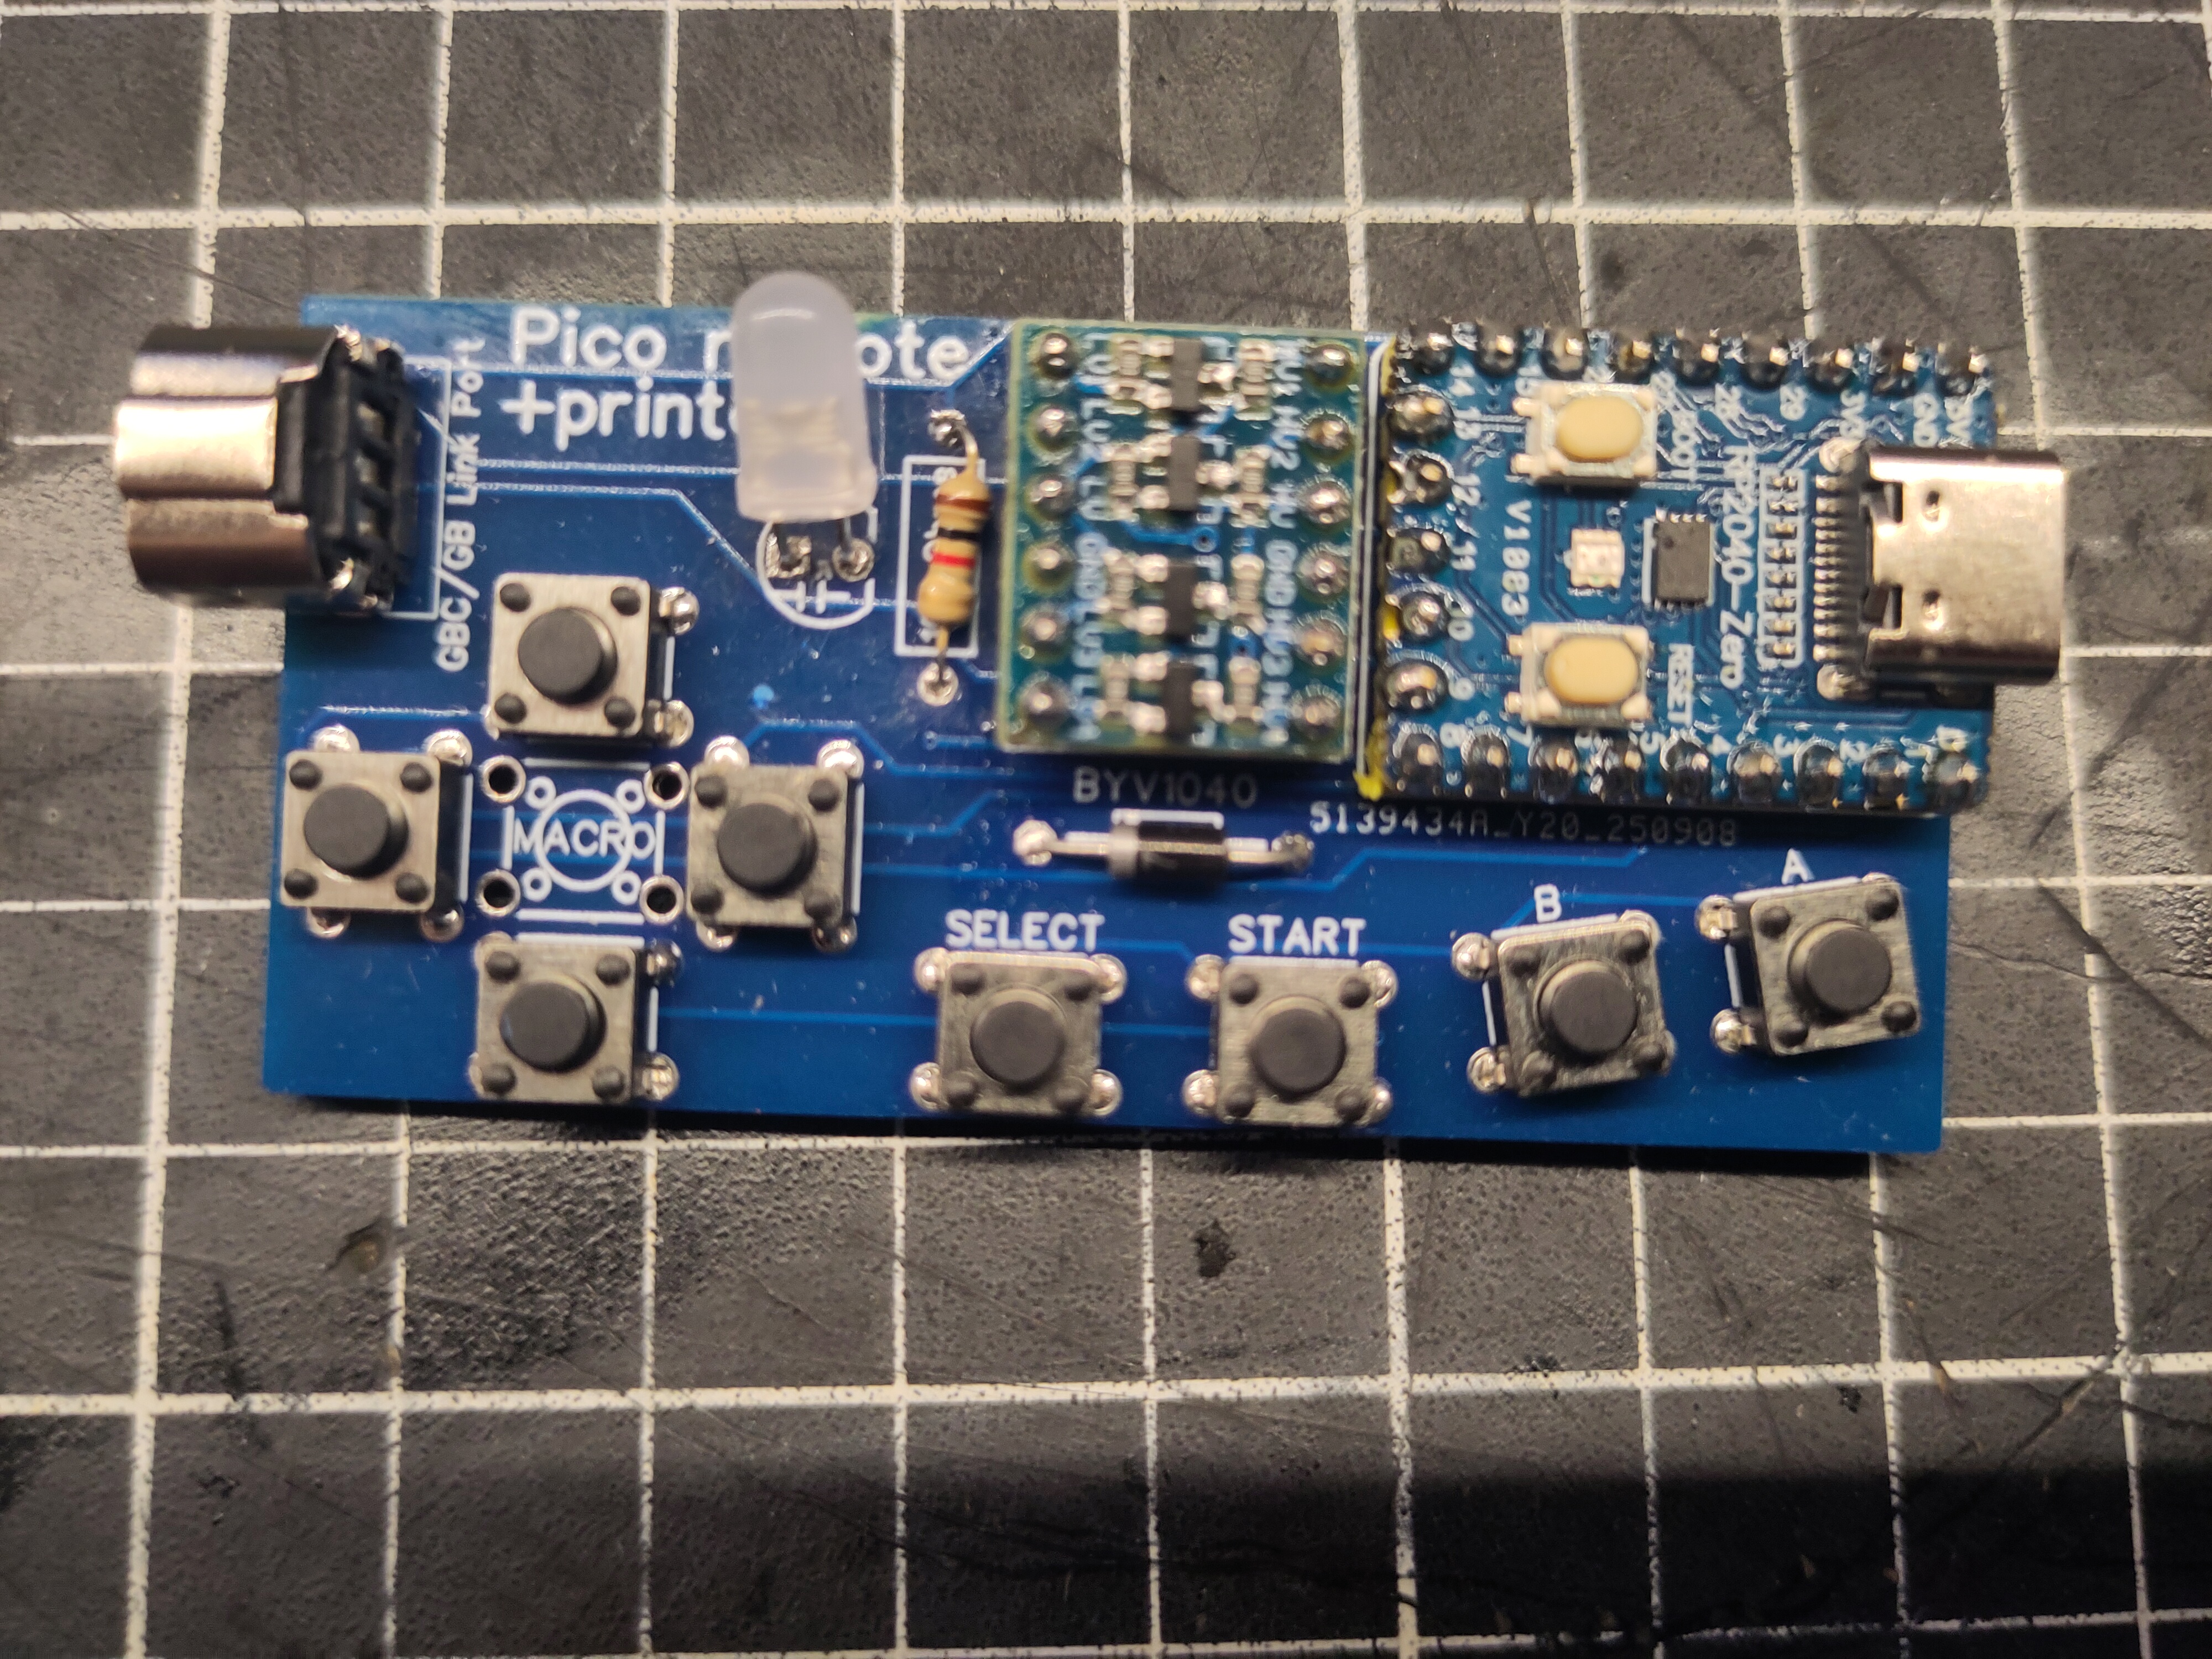
Pico remote printer: a half-successful home soldering attempt. Open source project, thanks to Raphaël Boichot for the PCBs and his work on these projects.
The pico remote too.

Built on shared knowledge

Very little of this would exist without the people who share their work, documentation and discoveries.

Modding passion.
Modding passion.

Raphaël Boichot

A special thank you to Raphaël Boichot, whose projects and documentation introduced me to Game Boy Camera modding. His work made it possible for me to build my own setup and explore much further than I could have on my own.

Awesome Game Boy Camera and Game Boy Printer projects →

untoxa

Thanks also to untoxa for Photo!, the homebrew software that has become an essential part of my camera.

github.com/untoxa →

And finally, thanks to everyone in the Game Boy Camera and retro modding communities. This whole adventure is a good reminder of what can happen when people share what they make.

The Photographs

The hardware is only one part of the story. All these modifications are ultimately there for one reason: to make photographs.

Photograph Differently. →